According to Zazzle and tile experts, the wood look ceramic tiles are great to design your home because they give the good visual aspects of wood but stronger and more durable. But laying them down needs some consideration. Here we show should wood-look tile be installed.
Is it even popular enough to be a subject for an article? The reality is that ceramic tiles with a wood-like appearance have grown in popularity recently.
And it’s clear why. Despite the elegance and sophistication that wood flooring can add to a space, it is difficult to maintain.
Regular refinishing prevents wood from scratching and developing unsightly wear patterns. Since it is not waterproof, any unintentional spills could result in serious harm and long-lasting stains.
Moreover, unlike genuine wood flooring, wood-like tiles don’t dent or squeak. There is only one issue, though: installing wood look tile presents some particular difficulties.
So, here’s a guide on how to install tile that resembles wood. WHAT YOU NEED TO KNOW ABOUT WOOD TILE: Wood look tiles have one thing in common with traditional hardwood: they are a hardy and low-maintenance alternative.
The demand for wood-look porcelain tile installation has likely risen in recent years as a result of its advantages and aesthetic appeal.
You may have noticed that wood tile is a little trickier to maintain than other ceramic tile varieties. laying in a wood-look tile might be difficult for the following reasons.
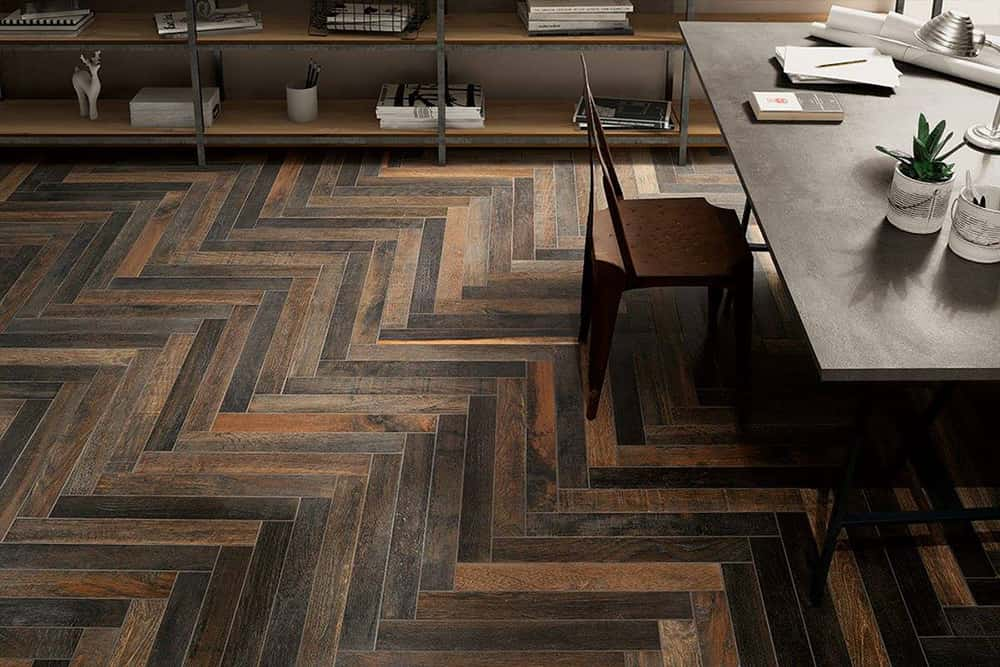
NOT FLAT IS WOOD-LOOK TILE: Wood tiles are not flat, as you have probably already discovered. They certainly seem to be such, but if you look carefully, you will see that the center is raised beyond where it ought to be.
The most unpleasant issue an installer has to deal with throughout a job is lippage because when installing wood tile flooring in an offset pattern, the center is adjacent to the end of the following tile. But don’t worry, we’ll discuss how to install wood-like tile without lippage in a moment.
REDUCE LIPPAGE BY CORRECTLY PREPPING THE FLOOR SURFACE: You are aware that flatness is the most crucial factor to consider while laying tile flooring. You are also aware of the danger of lippage if the tiles are put at various levels.
How can this issue be avoided when wood-look tiles have high centers is the question. Make sure the subfloor has no more than a 3mm variance every 3 meters as a general guideline. In other words, the ground must be completely level.
There are several guidelines you may follow if you want to learn how to lay tile that looks like wood, even if it can seem a little ridiculous to make the surface completely smooth.
LOOK FOR ANY DIP OR PEAK: Any peaks or dips in the flooring will accentuate the lippage because wood-look tiles are already uneven.
Stretch a chalk line across the space, looking for any variations in the height of the floor. With tape or a pencil, mark them.
Calculate the dip’s depth: To measure the depth of the tile dimpling, use your trowel. Use a deeper notch on your trowel if necessary.
CLEAN THE SURFACE AREA: Clean up any dirt and debris from the floor. To clean the area and get rid of the dust, vacuum the floor or use water and a sponge. MAKE SURE TO BUY THE APPROPRIATE MORTAR CONSISTENCY: Having the proper mortar consistency is essential for a successful tile installation, whether we’re talking about ceramic or wood-look tile flooring.
We’re not going to conduct a speech about how cement functions and cures; rather, we’ll just say that a perfectly blended mortar mix will help you establish a strong bond and, therefore, a long-lasting installation.
You’re already aware of it. But we’re going to provide you with some potentially fresh advice that could enable you to choose the proper mortar thickness. For instance, you need to begin by filling the bucket with water.
By doing this, you lessen the number of airborne particles. Many installers have been seen doing it the other way.
But it would be challenging to thoroughly mix it if the powder is added first, followed by the water. Another suggestion that may significantly improve results is to mix mortar for the necessary period of time.
Although 10 minutes of stirring may seem excessive, it will provide the greatest results. EQUALIZE THE FLOOR: USE A LEVELING COMPOUND: If the subfloor is uneven, the leveling compound should be used to ensure the flattest surface possible for tiling.
Delta: For any tile installation procedure to be effective, the floor surface must be free of any peaks or troughs.
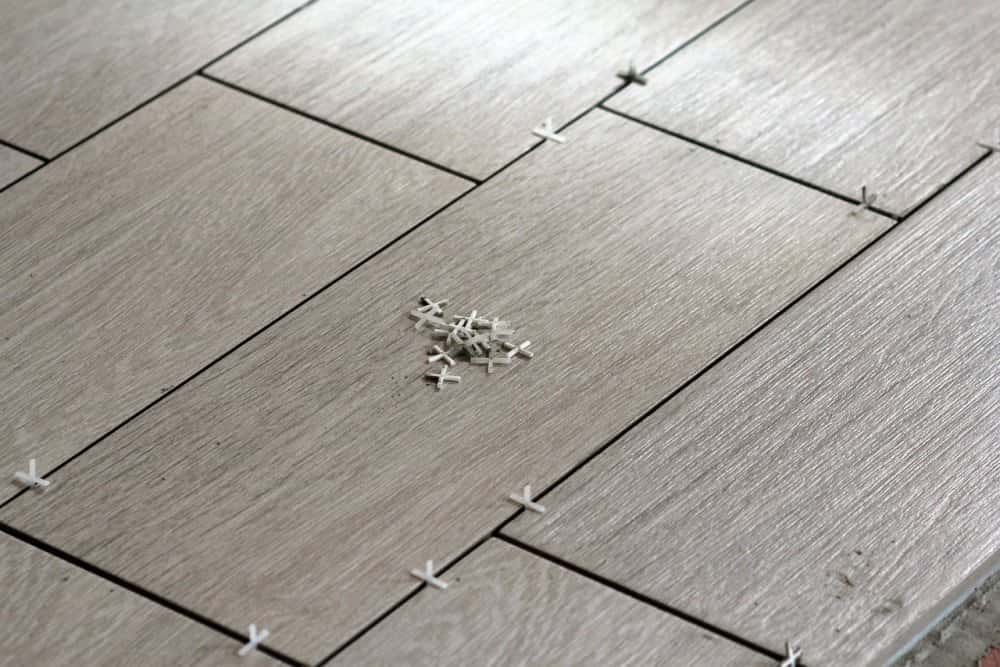
A tile leveling system may help you address this issue more effectively than other comparable instruments in the case of wood tiles, where the end product might still have some lippage even when the floor is completely flat.
Its design will cause the tiles to interlock, guaranteeing that the surface will stay level while the mortar cures. Another crucial element for achieving the ideal finish in any wood appearance tile flooring is tile spacers.
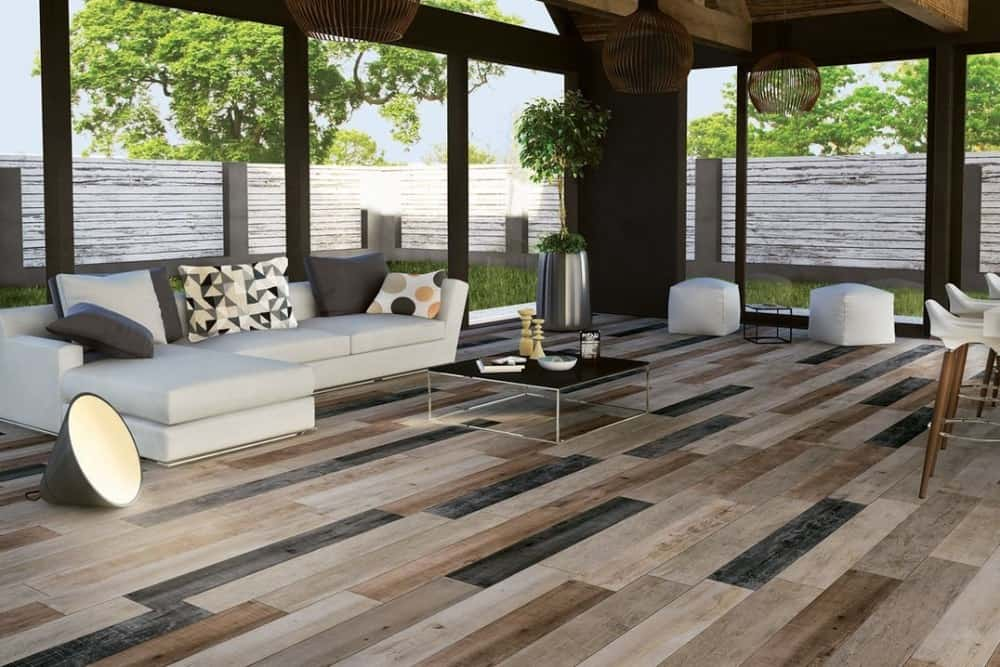
AVOID COMPLETING AN OFFSET: Offset patterns are the most troublesome, as was previously noted. What can you do, however, if the customer insists on an offset design? At least a 50% offset, in which the center of the wood-look tile is precisely lined up with the grout joint of the subsequent row, may be avoided.
That is a certain approach to get the most amount of lippage. Therefore, unless the customer is certain that they want this particular offset pattern, put the restriction at 33% or whatever the tile manufacturer suggests.
When laying wood tile flooring, the smaller the offset, the greater the likelihood that lippage issues won’t arise.
HOW TO LAY TILE THAT LOOKS LIKE WOOD: TIPS AND TRICKS: wood tiling: In order to make the floor surface as level as possible, you filled in all of the peaks and dings and smoothed out all of the dips.
You may also use a dependable tile leveling device to assist you with the installation.
What should I do next, you may be asking? Here are some pointers and techniques to assist you to understand how to install tile that mimics wood.
SELECT THE CORRECT ADHESIVE: For big-size tiles, a medium bed adhesive and a trowel with a 12mm x 12mm notch work well. This is not the time to be frugal, even if you will need to use extra glue and most likely pick a premium brand.


Your comment submitted.