sometimes it is needed to use a drill bit while you are using porcelain tiles for covering the wall. A guide can be a handy tool for this situation. You better know how to drill tile, even if you think you’ve done another successful tile project. Beautifully designed, the tiles are cut and everything is flat.
It is a work of art. However, your job is not ready. Now comes the part that can ruin all your hard work: drilling holes in the tiles to install the accents.
One awkward slip or move and you’re left with a cracked tile. Make sure you know how to drill tiles before you muster up your courage and start drilling smooth surfaces.
It seems like a pretty easy job if you’re a DIYer who isn’t too familiar with the different types of tiles and their characteristics. But even if you are CTI certified, the slightest mistake can ruin a tile. Lucky for you, we have plenty of tips for drilling tiles without breaking them.
But keep in mind that these steps don’t guarantee your tile won’t crack. However, they would reduce this possibility. Without further ado, here’s how to drill tile the right way.
Step 1: Know Your Tiles
If you want to learn how to drill tiles, one of the first things you need to pay attention to is the type of tile you are using.
Knowing the properties of the material you are trying to drill will help you understand the magnitude of the task at hand. For example, tiles are more difficult to drill than tiles because they are so dense. Therefore, drilling tiles requires more work and preparation than cutting other types of tiles.
You will also need a special drill that can penetrate the hard surface of the tile. The same applies to drilling in stone bricks. Now that you know what to expect, let’s take a look at the tools you need to drill through tile.
Step 2: Make beyond any doubt you’ve got the correct drill
Whatever material you’re drilling into, don’t use an old, worn drill bit for tile. Not only are they not as efficient as new, but if the drill is not working at its optimum capacity, the risk of damaging the tile surface increases. Also, don’t use regular drill bits for this task – they aren’t strong enough to penetrate hard tile surfaces.
Instead, you should choose a diamond or carbide drill bit. The first option, although a little more expensive, is very durable and can penetrate even the hardest tile surfaces, such as porcelain. Not only that, they don’t burn as as masonry. Carbide masonry drill bits, on the other hand, are the most common type of drill bit used for drilling tile.
However, while this type of drill can do the job on glazed tiles and stoneware, they are not recommended for working porcelain stoneware.
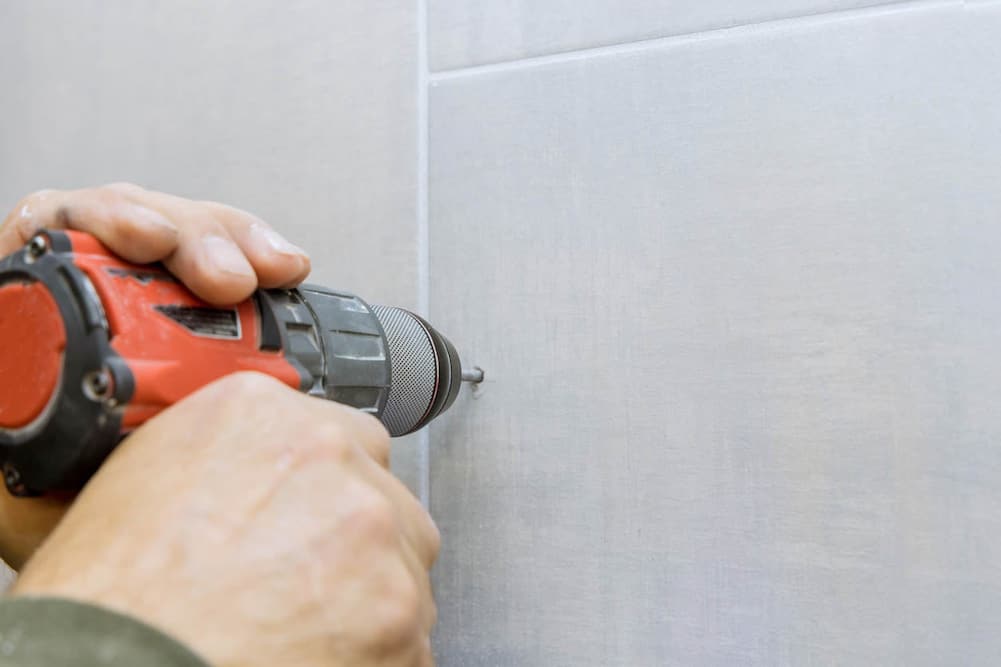
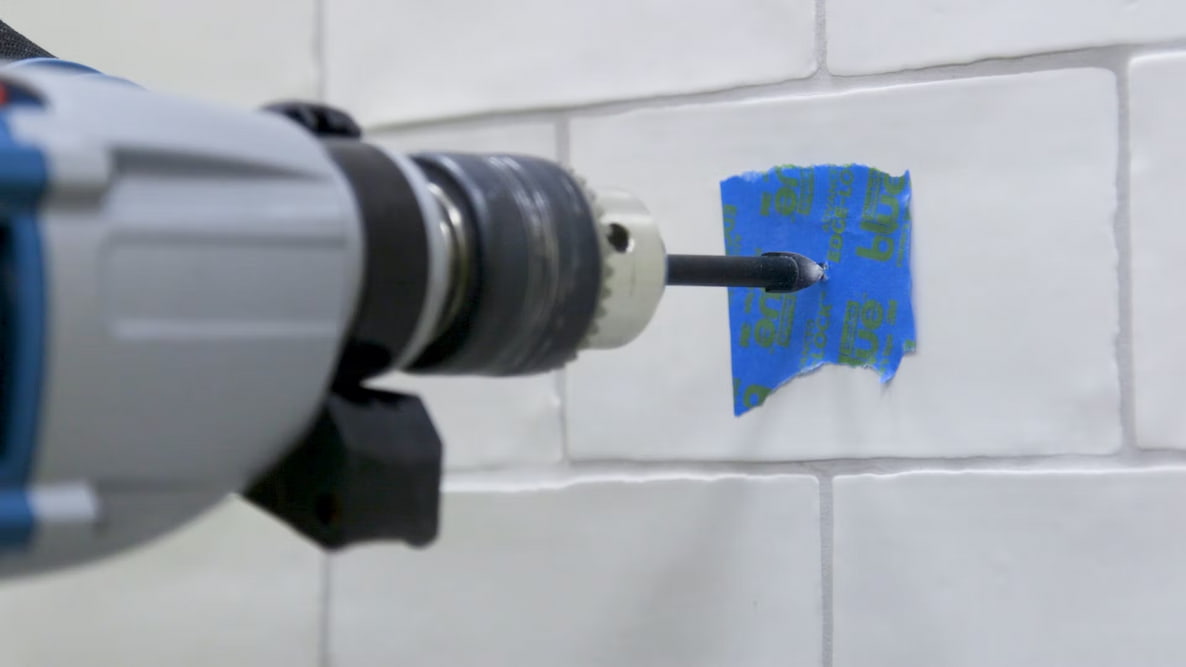
Step 3: Measure and mark the area
If you’ve ever tried to drill holes in tile, you know that these bits tend to slip on the surface, making it difficult to hold them in place. Now that’s a big deal. One wrong move and you’ll get scratched, or worse, the tile will crack. A simple trick you can use to create some tension is to use masking tape over the area to be pierced.
Measure the area, mark it with an X, and tape it down. Measure again after placing the tape to make sure you haven’t misplaced the holes. This way you will have enough surface traction to grip the bit when you start drilling.
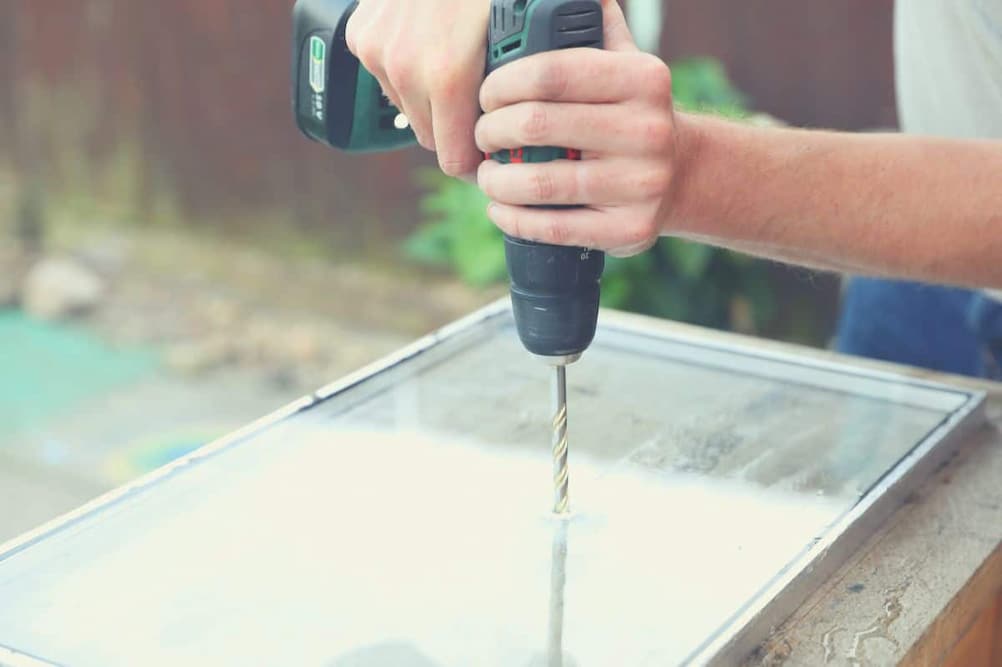
Step 4: Start drilling
Now, this is where the fun begins. This is the part where you learn how to drill tiles. Once the marked surface or your wooden formwork is in place, it is time to start drilling.
The problem with tiles (although we’re not sure if we can call that a problem) is that they’re built to withstand a lot of abuse, which also makes them drill-resistant. If you rush through the process, you could end up ruining all your hard work.
One of the most important things you need to remember is that drilling through tiles is a task that requires a lot of patience.
Start drilling at a low speed. Take your time – it may take some time to penetrate hard glass surfaces. In reality, you’re just overheating everything and creating vibrations that can damage surfaces.
Step 5: Don’t forget to cool the drill
One of the secrets to drilling holes in tiles is to keep everything cool. Use a small damp sponge to cool the drill and prevent it from overheating.
If you’re alone and can’t hold the drill with one hand and the grain of the wood with the other while the drill is cooling, you can stop and spray some water. part of the rigging. Another tip to keep the drill cool is to place a damp sponge under the drill.
This way, you will not only prevent the drill from overheating, but you will also catch dust and debris from the tile. Not to mention that you prevent water from dripping onto walls and floors.
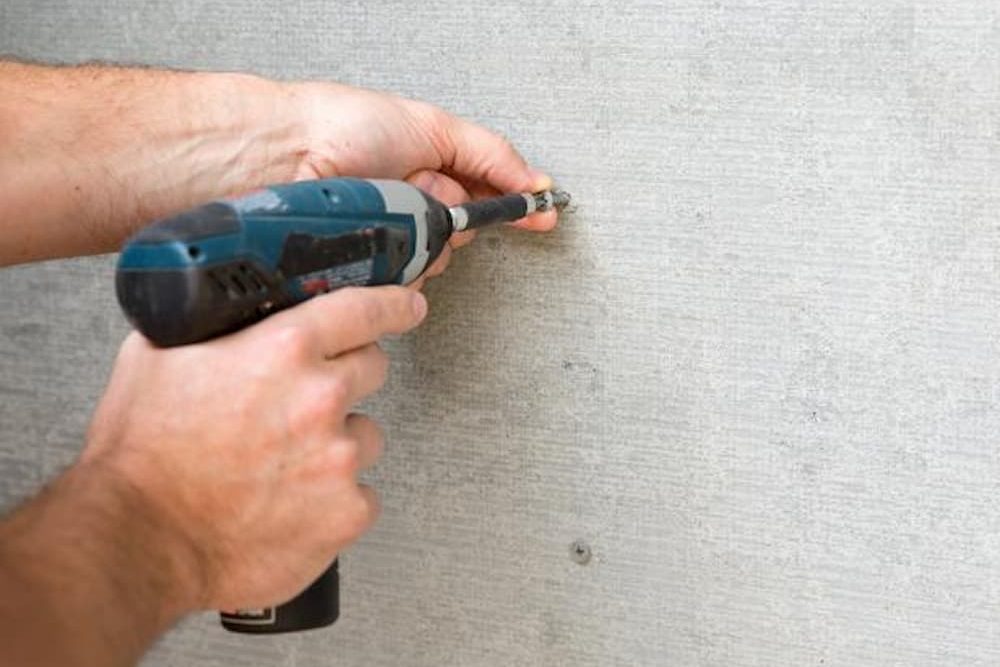
Step 6: Switch Bits When You Hit a Wall
You cut the tile and hit the wall surface without causing damage. You’ll be able to breathe a murmur of alleviation now. You’re almost there, all you have to do is go through the wall and install the accents. Keep drilling to avoid hitting the wall surface. If the wall is blown away, your anchor will not hold and the accent will come loose. If you feel that the drill you are using is not as efficient, you can replace it.
Step 7: Kick back and relax: you’ve just learned how to drill tiles
Take a step back and enjoy the results. You’ll indeed pat yourself on the back. You did very well. No, cross that out! You did a very good job! Now you’re ready to tackle your next project from start to finish with more confidence. Find out how to use the RUBI wet drill:
There are a few main things you need to keep in mind on how to drill tile. To begin with, you would like to have the proper instruments. Without the right drill for the job, the chances of screwing up increase.
Second, you must be patient. Drilling holes in tiles is not a game. You have to take your time and drill the tile. Also, remember to keep everything cool.


Your comment submitted.