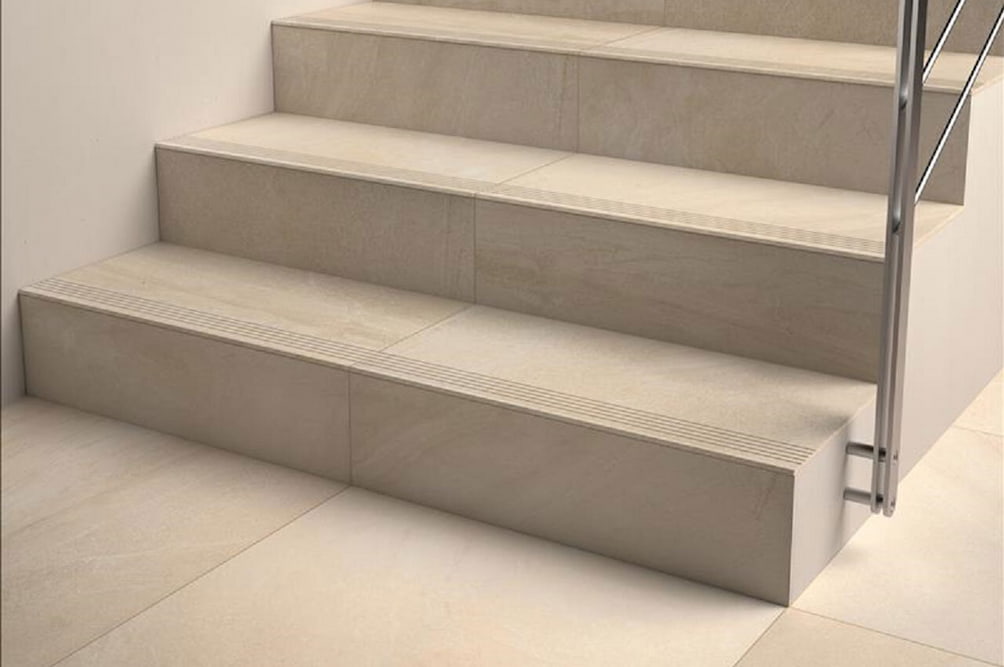
Typically, ceramic tiles removal from the stair follows the same procedure as the one for flooring. when you intend to replace a ceramic tile on the floor or stair with another form of flooring, you must first remove the old ceramic tiles.
Although it is possible to install some flooring materials directly over ceramic tile, doing so may result in a floor that is too thick to be functional.
Typically, sheet vinyl may be laid directly over ceramic tile, but when installing hardwood, laminate, or new ceramic tile, the old ceramic tile must typically be removed first. The process of removing ceramic or stone floor tiles is simple in terms of technology, but labor-intensive.
In reality, particularly for older installations, it may be physically demanding. However, because moving requires so much work, doing it yourself might save you a significant amount of money.
Before removing tiles by yourself, use safety glasses and leather work gloves, as tile fragments may slash skin like a knife. Take a three-pound sledge and a cold chisel next.
Breaking through tile is not a subtle action. Simply choose a couple around the floor’s center and continue to smash them until you can see what is beneath. Compared to thin-set tile installations, mortar foundation installations are superior. In older, traditional ceramic tile installations, the tile was affixed to a base of sturdy mortar that was typically reinforced with steel lathe. Typically, tar paper was used to coat the flooring prior to putting the mortar bed.
Such a floor may be extremely difficult to remove, necessitating hours of mortar foundation damage and tedious removal of metal lathe to free tile and mortar slabs from the tar paper underlayment.
Prepare for a weekend of arduous labor if you’re working on a project of this nature. The technique includes hammering, prying, and slicing the metal lathe into manageable pieces. If the tile was installed on a concrete slab, you have a similarly tough issue.
If the tile was installed over plywood or cement board, the operation is somewhat simpler. In the 1970s, thin-set adhesive became popular, allowing tile to be adhered directly to plywood or cement board subfloors.
This technique will quickly replace the traditional mortar-bed method. With a thin-set installation, the connection between the underlayment and the tiles is fairly simple to break.
Even if it is still demanding labor, you may take solace in the fact that you are not working against a mortar foundation.
- Ceramic tile removal
On a ceramic tile floor placed over plywood subflooring, our example of floor tile removal involved the use of simple hand tools. If cement board is used as the subfloor, the technique is essentially same.
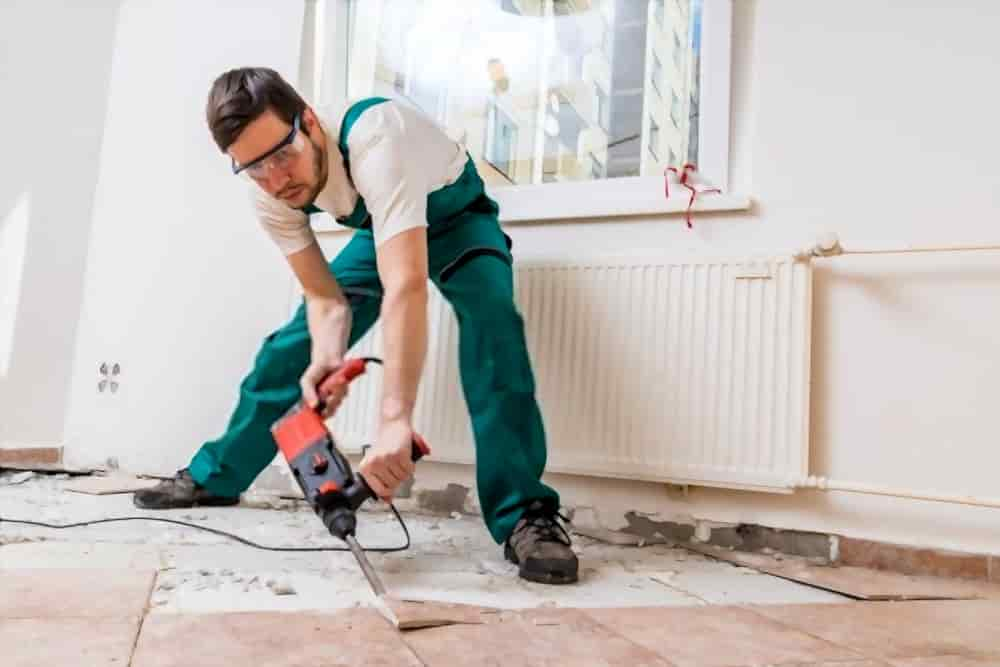
Before attempting to remove ceramic tiles, it is often advised to use a hammer or sledge hammer to break up the tiles. Although we are using manual equipment, there are also power tools available to facilitate the procedure.
Using a hammer drill with a chisel attachment or a roto-hammer with a spade bit might accelerate this operation if the tile is being installed over a solid mortar base or concrete slab.
Roto-hammers and hammer drills may be rented from tool rental companies and home improvement stores. If you use a hammer drill on a plywood or cement board flooring, be prepared for some subfloor repair work.
Be cautious that removing tiles may generate a substantial amount of dust. To protect your ventilation system and prevent dust from entering your home or business needlessly, it is advisable to tape off your work area and cover it with plastic sheeting.
Always use a dust mask, safety goggles, earplugs, and heavy-duty work gloves when removing tile. The hammering and chiseling motion might cause shards of tile or mortar to shoot up and severely threaten your eyes. When dismantling tiles, the edges can be fairly sharp, therefore wearing long sleeves might assist prevent injury.
When ceramic tile is removed, especially from large floors, a substantial amount of garbage can be generated. You may want to consider renting a roll-off dumpster for the debris.
- Instructions:
- Establish the workplace.
Before beginning work, spend some time setting up your workplace to avoid accidentally destroying other things in the area. Using a flat pry bar and a hammer, remove everything molding, trim, door frames, and doors that will impede the removal of the tiles.
This prevents them damage or contamination by dust during demolition. Cover heating ducts and unsecured doors with plastic sheets to prevent dust accumulation. If not controlled, the tiny dust generated by the disintegration of tiles can spread throughout the whole home.
- Locate a departure point
Start at the floor’s edge, if feasible near an entrance. Wearing safety goggles and a dust mask, sledgehammer the tile along the grout lines while striking it with a sledgehammer. Utilize extreme caution while handling porcelain tile. These jagged edges are as sharp as glass.
- Separation of Tiles Using a Floor Scraper
After removing a section of the tile with a hammer, locate a position where you can slide the floor scraper underneath it and pry it up.
The more tiles you are able to dislodge using a pry bar, the less hammering will be required, which will expedite the job. Adhered tile pieces can be removed from the surface of the subfloor by sliding a floor scraper underneath them.
They ought should come off with minimal effort. A flat shovel can also be used for this job. Test both orientations to see which is the most efficient.
Utilized appropriately, it can significantly simplify this task. Remove each tile by alternating hammering and scraping as you progress across the room.
- Adhesive and grout elimination
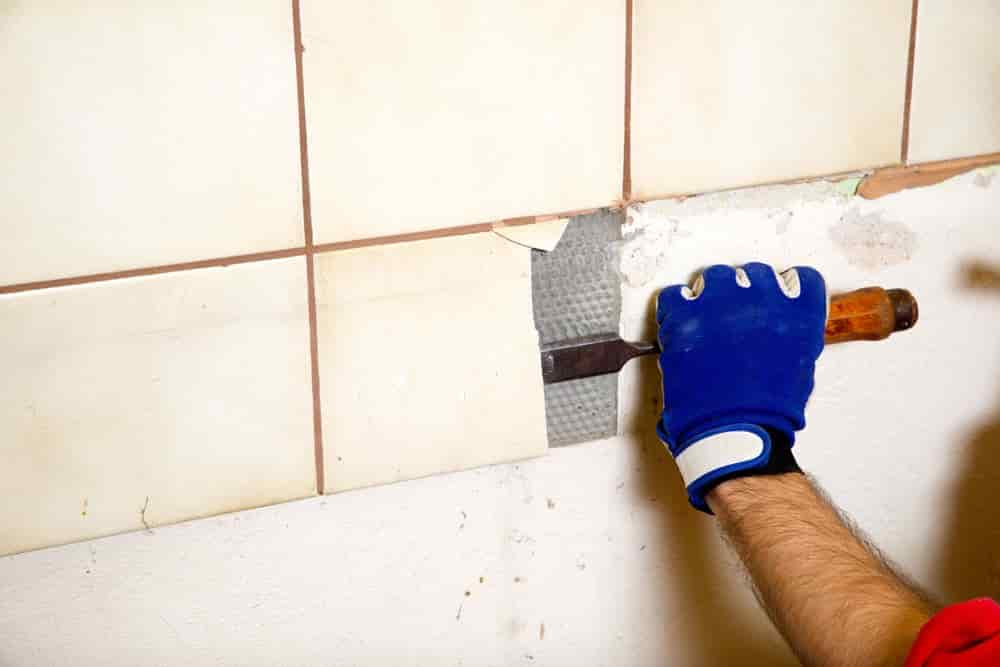
After removing the tiles, if thin-set adhesive and grout remain glued to the underlayment, you may need to use a hammer and masonry chisel to remove them.
This will depend on the scope of the project and the requirements of the new flooring, but in general, the floor should be as smooth as possible once the tile layer has been removed. These little tools can help you create a smooth underlayment for your new flooring, which you will definitely require.
- removing the underlayment (if Necessary)
Depending on the underlayment’s condition and the demands of the new flooring, the present cement board or plywood underlayment may be easier to remove at this time.
If the old underlayment is severely damaged or if the new flooring requires a different type of underlayment, the time has come to remove and replace it.
It is frequently best to cut the underlayment into manageable pieces using a circular saw with a blade set to the same thickness as the underlayment. After being broken into sections, the underlayment may be removed by unscrewing it or prying it up. As long as the cement board underlayment is in excellent shape and firmly attached to the flooring, it is sometimes viable to use it as the substrate for laying new ceramic tile.
Alternately, thin sheets of fresh cement board can be laid over the prior layer to give a new base for thin-set adhesive and new tile.
- clean
Use a broom and a scoop shovel to clear up the messes. Using sturdy contractor garbage bags, trash may be contained and disposed of.
Check with local authorities regarding disposal processes; you may need to arrange transportation of this debris to an authorized construction waste disposal site. Utilize a shop vacuum to complete the cleanup by eliminating any remaining dust.


Your comment submitted.