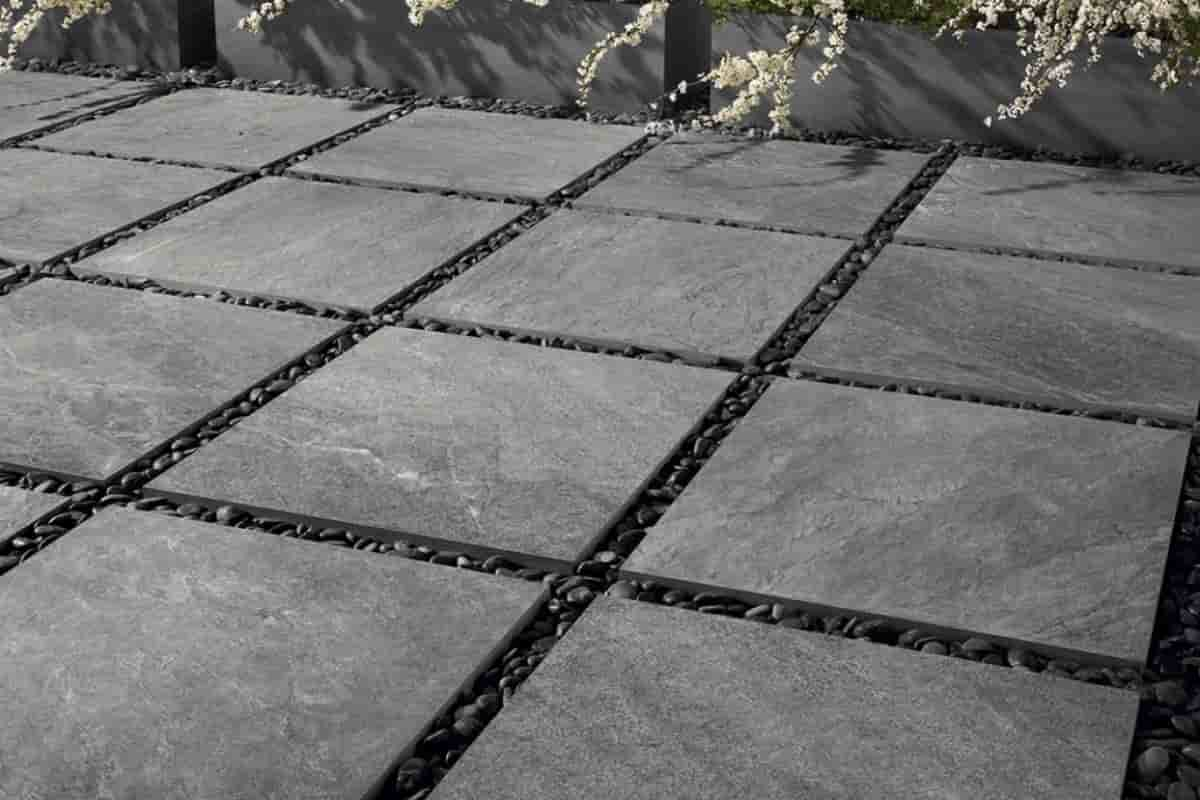
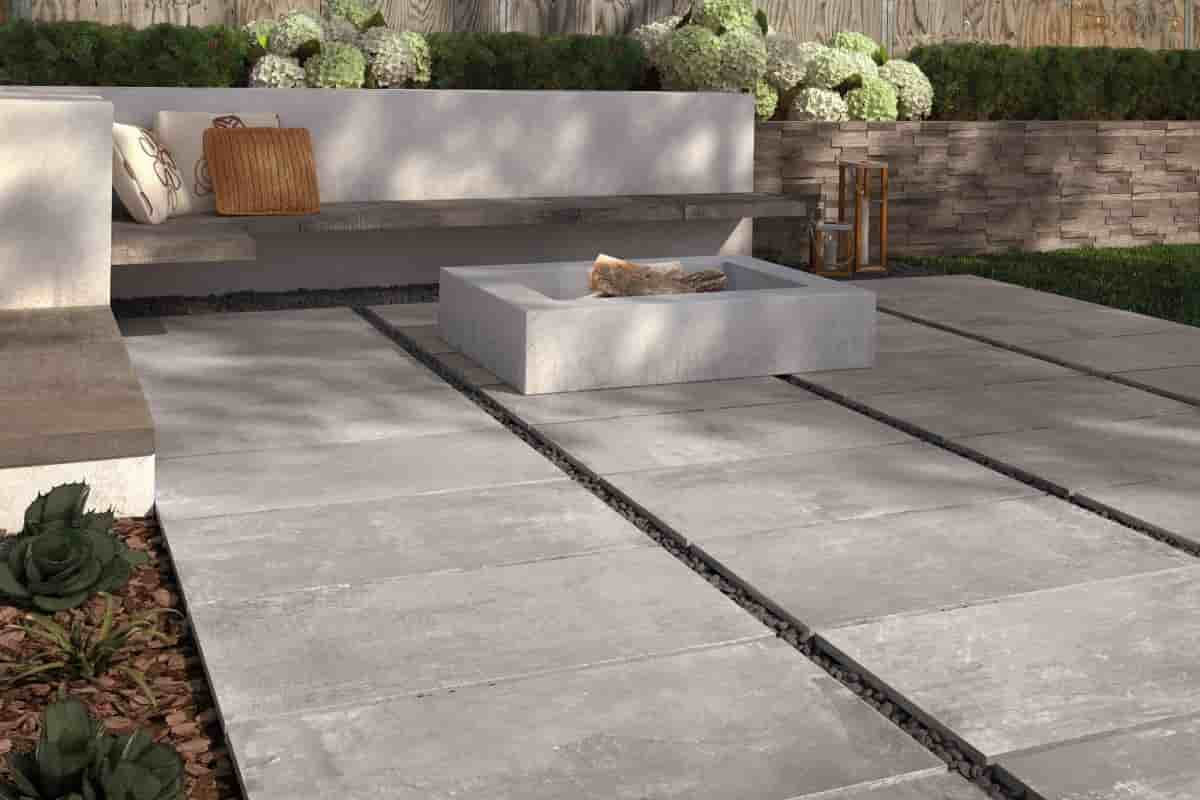
Porcelain is one of the most popular tiles for laying outdoor and it can be adapted and installed on gravel. May you can recapture the allure of city life if you make some cutting-edge renovations to your home, such as installing porcelain slab flooring, stone and gravel mulches, and incorporating natural features into your interior design.
view of the city “You have some say over its overall appearance. Container gardening is something that can be done in larger urban plots as well, but it is most ideally suited for city yards that have a limited amount of available area.
A sizable piece of land that has been outfitted with various seating places, pathways, a playground, and a kitchen that can be converted into a garden. Because of this flexibility, it is possible to integrate containers into more flexible vertical layouts, make use of roof spaces, and accommodate other configurations.
It is possible for everyone, regardless of their financial capacities, to have an outdoor environment that is beautifully created by making use of straightforward objects such as clay pots, a window box, buckets, and washed-out food tins.
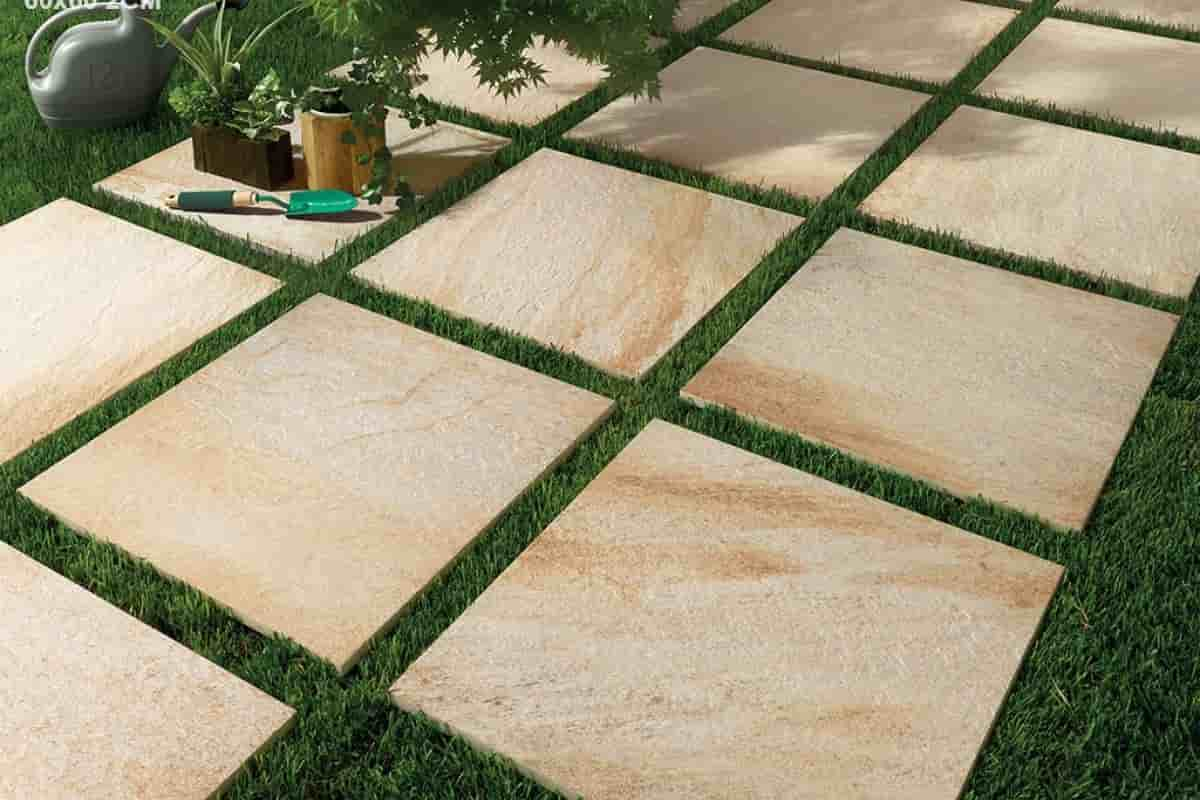
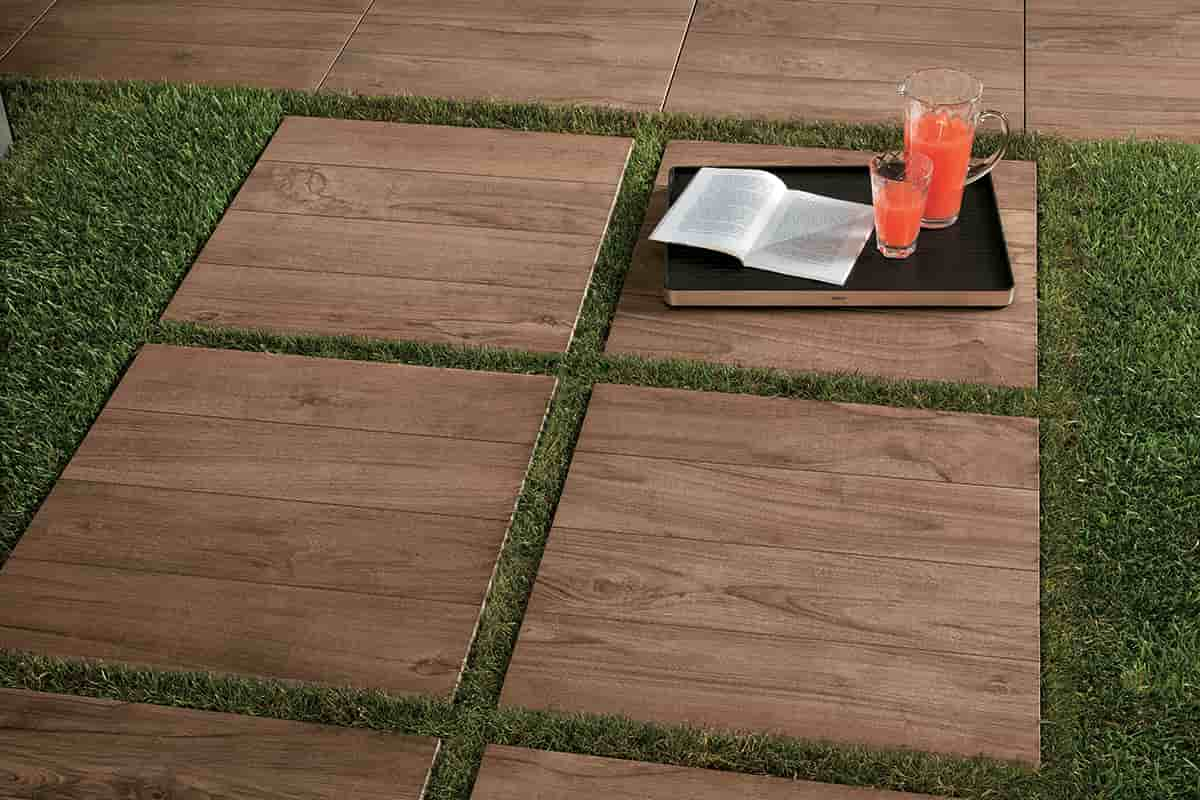
The use of porcelain pavers makes urban gardens look very stunning.
Porcelain slabs are an alternative that may be utilized in a variety of different modern design projects, and they can be purchased at prices that are not overly expensive. Because it is lighter than other materials, porcelain can be used effectively as a roofing and flooring material.
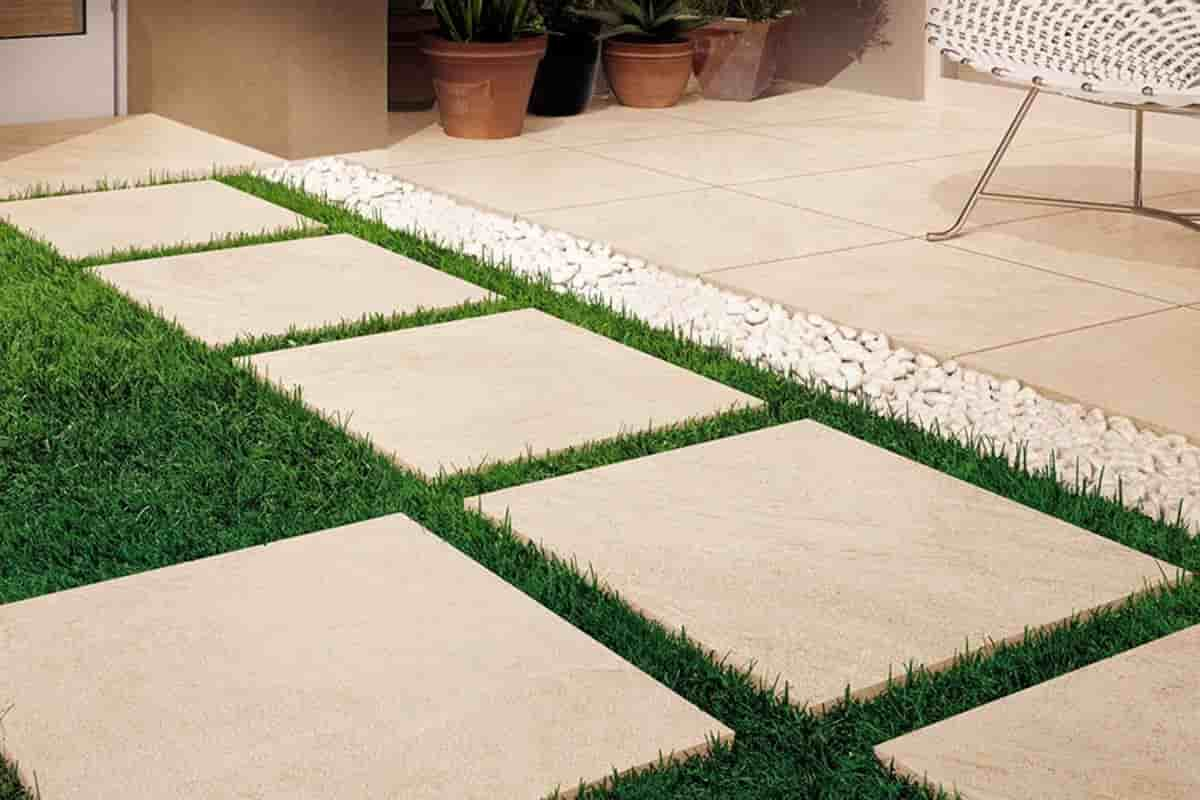
Tiles are more popular as a result of the numerous ways in which they may enhance the appearance of a property. It’s possible that using larger tile sizes will provide the interior of a house with a more dramatic aesthetic impression.
There are several advantages to using large format tiles, including the fact that they have a more visually attractive appearance and are easier to clean since there are fewer grout lines.
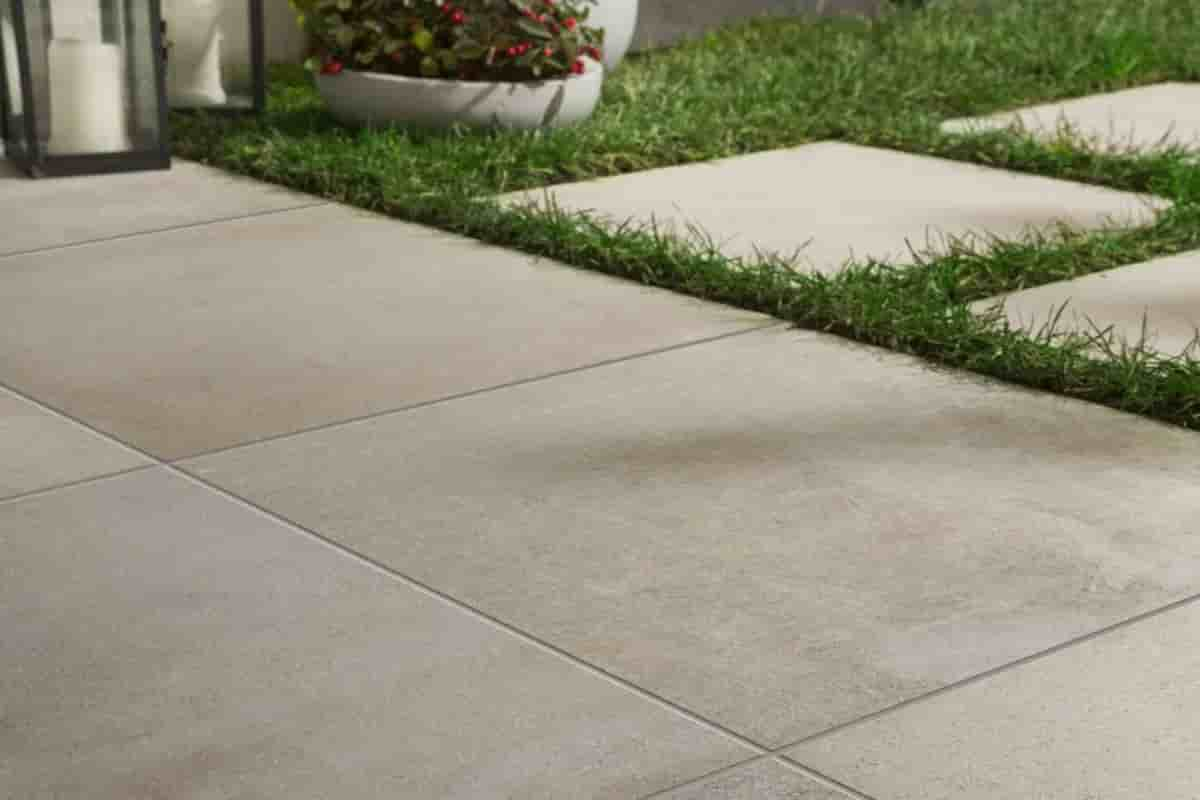
It is important to keep in mind that installing large-sized tiles, even though they are beautiful, may be challenging. Because the installation requirements for large format tiles are more stringent than those for standard tiles, these suggestions must be followed to the letter. There is no reason to be alarmed, however, we could discuss some potential roadblocks.
Learning and committing to memory a handful of fundamental standards is all that is required to complete a fundamental installation. If you set up your system by the instructions in this handbook, you shouldn’t experience any difficulties in doing so.
You should start reading the instructions right now to ensure that your tiles will keep their beautiful appearance for as long as possible once the installation process is complete.
When it comes to installing ceramics, the process might be different from one set of ceramics to the next depending on the type of material and the size of the tiles.
For instance, the high-water absorption of ordinary ceramics makes it possible to install them using the time-honored mortar method, but the low water absorption of porcelain ceramics requires the application of adhesive.
Include some ceramic in the configuration. The market for ceramic glue (also known as tile adhesive) provides buyers with the option of purchasing either a paste ceramic glue or a powdered ceramic glue. At the building site, ceramic glue powder and the required quantity of water are combined with the help of a portable electric mixer and many huge buckets.
On the other hand, you might be able to find sticky paste already prepared and packaged in buckets. Ceramic powder glue is often packaged and marketed in 20-kilogram (kg) packets, with each packet having the capacity to install two square meters of ceramic.
Of course, so long as the ceramic foundation is appropriate and the adhesive isn’t much thicker than 0.5 centimeters, you should be fine. If the ceramic foundation is not optimum, more ceramic powder adhesive may be required. Additionally, the amount of weight that may be contained in a bucket of paste glue can range anywhere from 5 to 25 kilograms (kg) depending on the manufacturer.
Because large amounts of glue are used up during the installation of floor ceramics, the use of paste adhesive is not financially viable.
This is because of the large amount of glue that is used. If the floor is laminate, both the laminate and the foam that is underneath it will need to be removed throughout the renovation process. It is advised to use a mortar made of cement and sand while setting ceramics.
Because the mortar layer of cement that lies beneath the ceramic or stone is already level, and because the chrome plating will need to be replaced if the mortar layer is removed, it is preferable to remove the ceramic or stone directly rather than risk destroying the floor and the mortar layer of cement that lies beneath it. Let’s assume it’s very clear that the corporation is losing both time and money by engaging in this activity.
It is not a problem to install ceramics directly on stone or ceramic if the ceramic is huge in size and we use materials such as porcelain ceramics, which are one-in-one ceramics. This is because ceramics have a hefty weight.
However, if the ceramic has smaller dimensions, it may not be installed properly if it is placed directly on the stone or ceramic due to the lack of suitable penetration of the adhesive into the work. This could result in the ceramic becoming loose in the long run. If the ceramic is placed directly on the stone or ceramic, however, it may be installed properly.
done using vintage pottery Cement sand mortar should be used to smooth down the pathways that are used by water and heating pipes in newly constructed buildings, and the grain pattern of floor pumice should be used to ensure that the pathways are as level and uniform as possible.
This can be done by using cement sand mortar. By laying the floor with a cement-and-sand mortar and ensuring that it is as level as it can be, it is possible to reduce the quantity of glue that is required for the installation of ceramic tiles.
The first thing to do when installing a ceramic floor is to decide where you want the first time to go. Installers are required to take measurements in every direction to determine how much of a tile has to be cut off and how far it may be moved to reach the starting point.
After the starting point has been established using a hose or a laser level, the next step involves determining the quantity of glue that lies under the ceramic and taking its reading.
It is advised that a minimum of 0.5 centimeters of adhesive be used to prevent the ceramic from being dislodged over time. Given that the ceramic is heated to 1200 degrees Celsius, a cutting error made by the machine might cause the edges of the ceramic to flex by as much as two-tenths of a millimeter.
Due to the misconception that rectify ceramics are unbonded, they must be assembled using glue and adhesives. This is a need because of the marketing. If the ceramic floor is installed without straps, it will crack as a result of the stress that is placed on its edges.
This will become an increasingly common occurrence as the building shifts position as it settles and rises. steel-framed buildings, which are among the most vulnerable types of buildings to the impacts of global warming.
Therefore, the usage of ceramic flooring is the ideal option for use in villas and other structures that will be subjected to persistent moisture. Other options include stone flooring and concrete flooring.
Ceramic floor tiles require the use of a leveler in addition to a wedge to be attached securely. It is a plastic leveler that is available in a variety of thicknesses (ranging from half a millimeter to one millimeter and two millimeters) to accommodate different people’s preferences. One millimeter is the standard, most accurate, and most used measurement.
The plastic wedge is also helpful for laying up rows of ceramics that are parallel to one another. We will need to make use of a wedge and space them apart by thirty centimeters; the wedge is now in position.
For a ceramic tile floor with dimensions of 120 centimeters by 120 centimeters, for instance, you would want three identical wedges on each side, for a total of 12 wedges.
After twenty-four hours, the ceramic adhesive will have sufficiently set to make it possible to retrieve and reuse the wedges; nevertheless, the wedges will be irretrievably lost since they will be buried beneath the ceramic and will not be accessible.
Therefore, when you place an order for leveling and wedges, you should offer either the same number of levels as wedges or approximately three times as many levels as wedges. Below 25 square meters, however, this difference is insignificant, and it is safe to assume that the same number of levels and wedges may be used in that area.
It is important not to underestimate the amount of time necessary to install the ceramic because a single ceramic installer can cover around 25 square meters in a single day.
Ceramic flooring should be cut using a ceramic cutter rather than a mill since the latter would cause the edges to chip, which is an eyesore. Ceramic cutters are available at most home improvement stores.
In addition, ceramics that have been chopped should only be used at the final border of the floor and the transition from the wall to the floor. In ceramics installation, you should never utilize tiles that have a double cut.


Your comment submitted.