One of the big problems for small apartments is to repair the bathroom ceramic tiles. Although there is the best-suited kit for this task. If you need your kitchen or bathroom tile repaired, you don’t necessarily need to hire a professional. Find out about the different types of damage and how to fix it yourself quickly and inexpensively.
Determining the type of damage can help you develop an appropriate strategy for your tile restoration project. You can seal small cracks and debris to prevent further damage. For larger imperfections, it is best to remove the tile and start with a square. If you just need to seal the cracks, skip to the section on sealing the tiles.
Before you begin, gather your tools. You will need a hammer and chisel, goggles, gloves, a long-sleeved shirt, and a brush or broom to sweep up excess residue during and after your work.
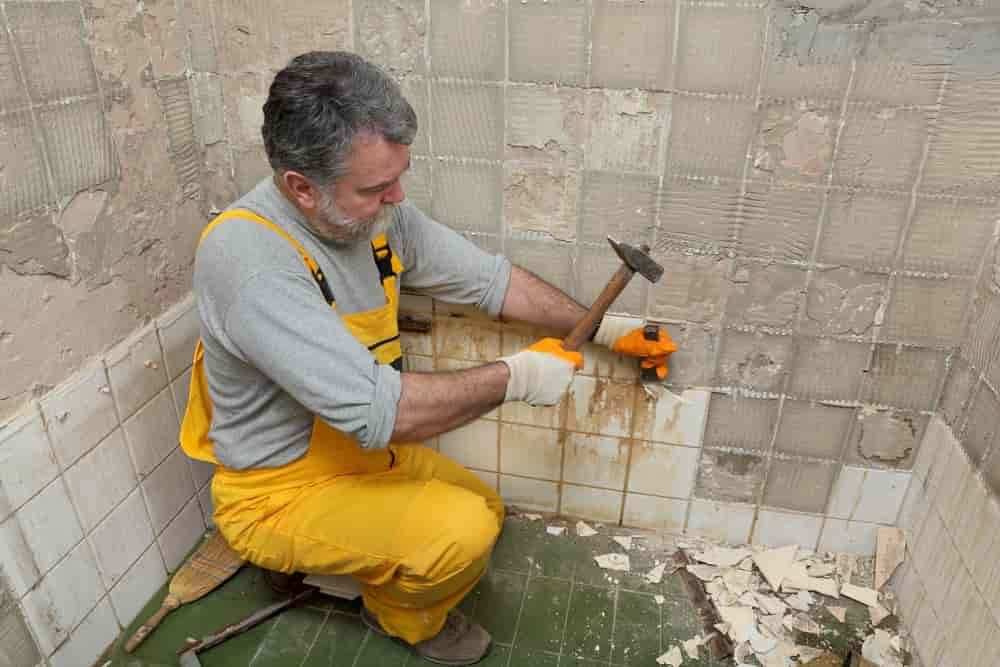
Use a hammer and chisel to remove the grout around the tiles. Wear goggles, gloves, and a long-sleeved shirt to keep dust and residue out. Remove the tiles.
Depending on the accessibility of your tile, you may need to break it (using a drill, hammer, and chisel) and insert a new one.
You can try to protect the tile by freeing it by wedging your chisel into the corner and carefully splitting the tile with a hammer. Repeat the process for other accessible corners and edges; focusing on one area can cause cracks.
Chisel out the backing and other substrates so you can apply new material under the tile. Before you begin, gather your spirit level, mortars, and a trowel, and don’t forget your gloves and goggles. Tiles laid dry.
Use a spirit level to make sure the tile is lower than the surrounding tiles; you should always add mortar before inserting the tile. Use the trowel to apply the mortar into the crevice. Also, apply it to the back of the tile to increase adhesion.
Make sure all corners are aligned and your tiles are level. Remove excess mortar before drying. Let the mortar set. Use a trowel or grout tool to apply new grout in the joint and remove excess grout.
Before the grout dries on the tile, remove the excess with a sponge and damp water. Seal the grout with an appropriate sealer. This section will show you how to seal small chips and cracks to prevent further damage. Prepare the surface.
Make sure all surfaces you wish to seal are clean and dry. application. To seal chips/cracks and prevent further damage, apply a sealant to the gap and wipe off excess.
Clean the applicator and use a sharp blade, acetone, or boiling water to remove excess sealant from the tile.
Tile floors are as durable and low-maintenance surfaces as possible, until a cast iron pan slips out of your hands or you drop a wrench while clutching your elbow under the bathroom sink. bath. But even so, you’ll be glad you have tile under your feet because it’s so easy to replace a broken or chipped tile.
“It’s a job any homeowner can do,” said tile contractor Joe Ferrante, who has worked with the TV show This Old House for nearly 20 years. The following pages are the perfect repair steps for Ferrante. Just be sure to follow one important tip. “Go easy with the hammer,” he said, “or you’ll end up breaking more tiles.”
Step 1
remove the grout
- Wear safety glasses to protect your eyes from debris and dust, then use a carbide cutter to remove grout around broken tiles.
- Apply enough pressure to remove the grout, but not so much that the slip will scratch adjacent tiles.
Step 2
Peel off the tiles
- Tape the edges of adjacent tiles to protect them.
- Use a 1/4 inch ceramic drill to evenly drill through the damaged area of the tile. This helps release the chips from the substrate and makes them easier to extract.
Step 3
shredding
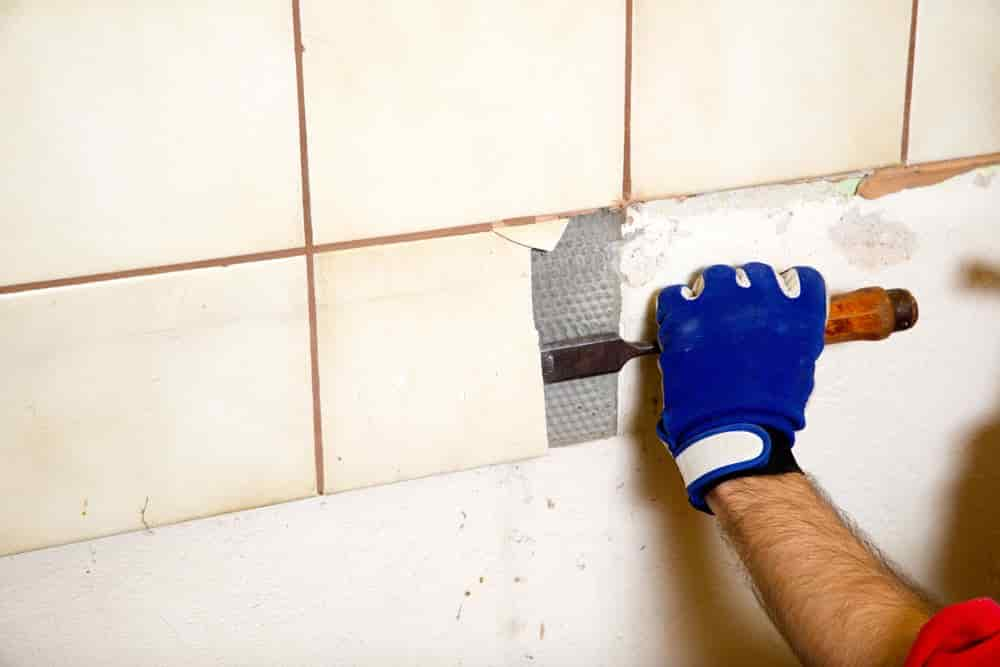
- Working from the center to the edge, use a hammer and narrow chisel (3/8 or 1/4 inch) to lightly knock out the pieces. If you don’t have a tile chisel, a cold chisel or even a flat-blade screwdriver will do. Start with the chisel at a 90 degree angle to the floor, then move to a 45 degree angle after penetrating the enamel.
- Once the broken tile has been removed, use a larger chisel to remove any old veneer from the backing. The same technique applies to all substrates including mortar, cement backing, or plywood.
Step 4
Place new tiles
- Use a 1/4 inch notched trowel to comb a small amount of thin set mortar over the base in straight furrows.
- For better adhesion, also apply a thin layer of butter to the back of the new tile.
- Set the tile in place and press firmly so that it is flush with the surrounding tiles. Adjust it so that all sides are evenly spaced.
Step 5
Fill the seams with grout
- Wait at least two hours for the grout to set before mixing a batch of grout.
- Brush the grout into the joint with a rubber float held at a 45 degree angle and wait 15 minutes for it to harden.
- When the grout is no longer tacky to the touch, wipe off the excess with a damp sponge.

Step 6
Let the grout dry
- Do not walk on the tiles for 24 hours.


Your comment submitted.