If one of your floor or stair ceramic tiles has cracked due to regular wear and tear or an unlucky accident, you are not doomed to live with it forever.
It is relatively easy to repair a damaged tile, but if you choose, you may even replace it totally. This article describes three functional methods for patching a damaged tile: professionally using 2-part epoxy, rapidly using nail polish, and, if desired, totally replacing the tile.
Method 1: for minor cracks and chips is epoxy.
- Obtain a 2-component epoxy repair kit from a hardware store or the Internet. Epoxy, a chemical that hardens, can be used to join two parts of your broken tile. While 1-part epoxy kits are available, 2-part kits are often of higher quality and will hold your broken tile together for longer. The majority of hairline cracks and chips may be fixed using only two tiny tubes. Avoid purchasing in large quantities. If desired, use an acrylic putty repair kit. Given that these kits contain colors that may be mixed to accommodate elaborate tile patterns, this is an excellent option for multicolored tiles.
- Using paper towels and a cleaning solution, wipe the broken tile clean. Apply a few drops of Oxiclean or rubbing alcohol to one or two pieces of paper towel. The paper towel must be moistened. Next, use the damp paper towel to thoroughly wipe the surface of the damaged tile.
Scrub the tile with a soft-bristled brush and rinse the area with water after you’re through. Cleaning the cracked tile will remove any debris and ensure that the epoxy sticks to the surface of the tile. If you do not have a soft-bristled toothbrush, use an old toothbrush. - Combine the two epoxy compositions on a scrap piece of cardboard. Put on gloves made of latex. Using a popsicle stick, scrape the epoxy liquid from each of the two bottles onto a piece of cardboard. The two components of the epoxy must be well combined.
Therefore, the epoxy will begin to chemically solidify. If more cardboard is not readily accessible, the epoxy can alternatively be mixed on wax paper, a paper plate, or scrap wood.
Here, up your speed. After mixing the epoxies, you have between 15 and 30 minutes to finish the operation before the epoxy begins to harden. Numerous 2-component epoxies are provided with a specific application tool. You may use it in place of a popsicle stick. - Spread the mixed epoxy along the tile’s hairline fracture. Utilize a popsicle stick to collect some of the mixed epoxy. Transfer the epoxy to the tile, then spread it evenly down the whole length of the crack using a tiny paintbrush. Epoxy resin will infiltrate the crack from below. Apply epoxy to a distance of approximately 0.20 centimeters (12 inches) on either side of the crack. Avoid applying epoxy on the remaining, undamaged area of the tile’s surface. Remove any excess epoxy using a paper towel or gloved finger.
- Wait approximately seven days for the epoxy to cure. Within 15 to 30 minutes, the epoxy should begin to dry and solidify. However, it takes some time to properly cure and solidify.
- Read the instructions that came with the epoxy to determine how long it will take to fully cure, or give it a week to be safe. For the first 15 to 30 minutes, the tile should not be touched or anything placed on top of it. In addition, keep all dogs and children away from the tile.
- Paint the epoxy to disguise the repair and blend it with the tile. Even though it may be difficult to totally disguise the repair, painting the epoxy with a color that is even vaguely comparable can be of tremendous assistance. Find an oil-based paint that closely matches the color of the tile.
After roughening the epoxy and surrounding tile with sandpaper, apply the paint with a little paintbrush. If your tile has a glossy look, use an oil-based automotive paint. This step is unnecessary. If the epoxy is already pretty similar to the color of your tiles, you may choose to leave it uncolored.
Method 2 nail polish for minor cracks
- Find nail polish that compliments the color of your tiles. If you need to quickly fix a tiny fracture, there’s no need to mess around with complicated epoxies.
Find a nail polish bottle that nearly matches the color of your flooring. If you have a little crack that has been worrying you, you can do this repair in under five minutes, however it won’t be faultless. - Scrub with soap and water the tile adjacent to the crack. Soak a sponge or towel with warm water. Add a few sprays of dish soap to the sponge or towel, and then lather it up. To thoroughly clean the tile, scour it. To facilitate evaporation, wipe the tile dry and allow it to air out for some time
- Along the crack, three coats of fingernail paint should be applied sparingly. Using the included little brush, apply the nail polish liquid to the tile’s surface from the metal container.
Spread the polish along the fracture in the tile until it is entirely filled. Add an additional 1-2 millimeters (0.039-0.079 in) on either side of the crack to ensure that it seals. - Allow 15 minutes for the nail paint to dry. You must wait until the nail polish is totally dry before repairing the shattered tile. After 15 minutes, verify the nail polish’s dryness by gently touching it with your finger. If your finger leaves the nail polish dry and there is no evidence of your fingerprint, the polish is dry. Wait about 15 minutes more if the nail polish is still damp.
- Continue cleaning the tile in stages until you are satisfied with its appearance. If, after applying one layer of polish, the crack appears flawless, it may be deemed repaired. However, feel free to apply another layer of polish if you believe it is necessary. After drying, apply more coatings as necessary. Continue until the tile seems to be repaired, consistent, and cohesive.
- It may be required to apply three to four coats of nail polish for the tiling to seem flawless. Keep in mind that it will likely not be faultless. After five to six layers, or more, you will likely be in the “best there is” zone.
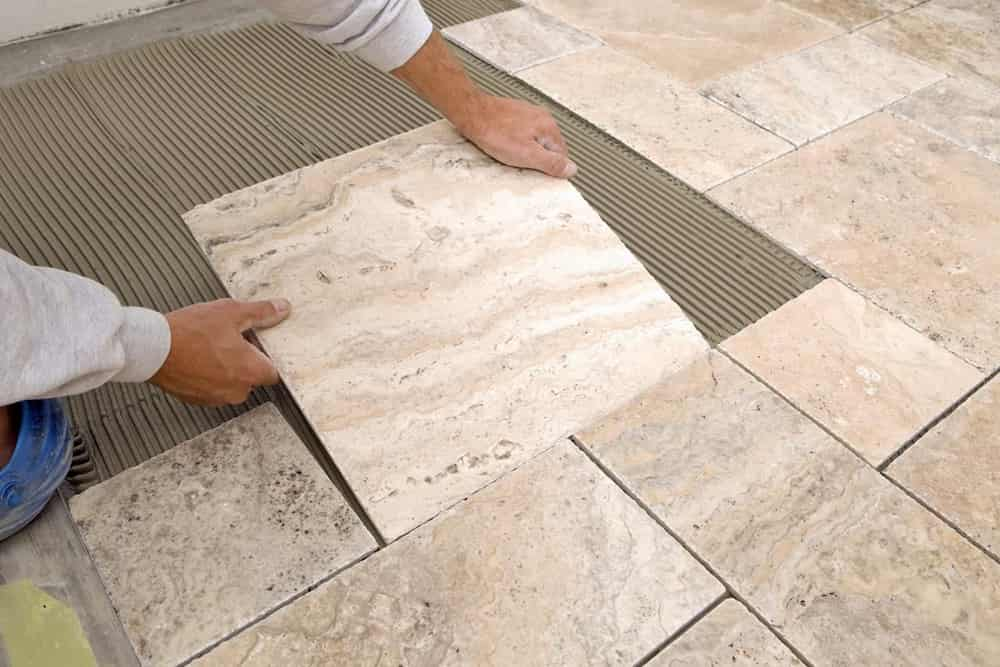
Method 3: Replacement of Damaged Tiles
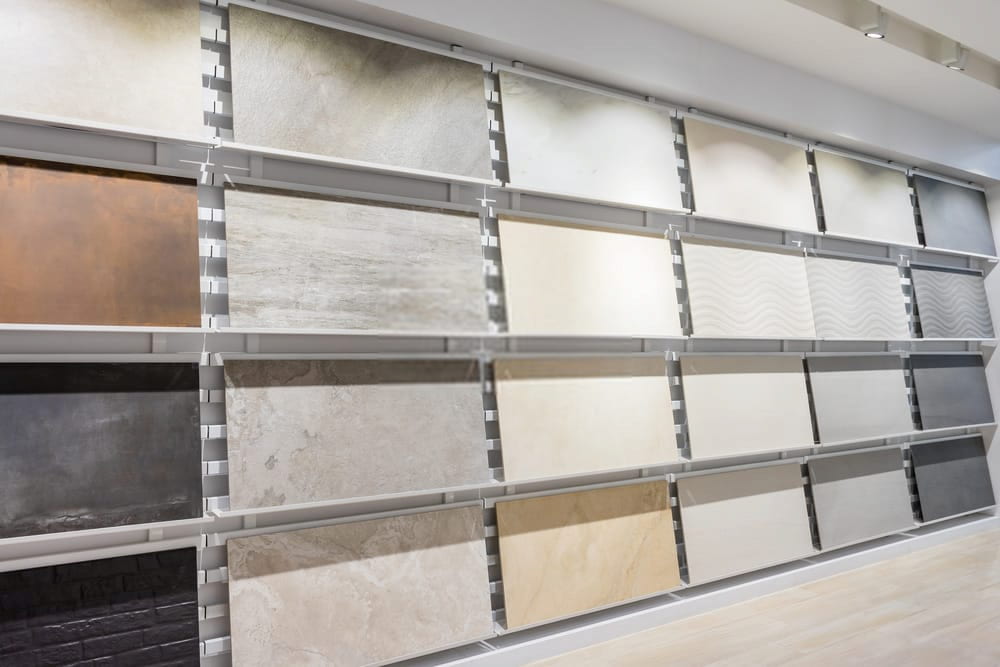
- Find or purchase a replacement tile to replace the damaged one. If a repair is deemed insufficient or if the crack is too serious to be repaired, it is recommended to just replace the item. The installation of your tile floor or countertop should have left you with one or two additional tiles.
If not, take a picture of the tile you wish to replace and visit a hardware or tile store to purchase a replacement. The sales staff can also help you find a tile that complements your interior design. If the tile you need is not available at the hardware or tile store, simply purchase a replacement.
- Using a hammer and center punch, shatter and remove the tile with care. Place the point of the center punch in the middle of the cracked tile, and then tap the back of the tile with a hammer until it separates. Repeating this process will allow you to move away from the center of the tile.
Any grout bits that are too tiny to break with a hammer can be removed using a chisel. Use enough force to shatter the tile, but not enough to damage the supporting walls or wood. Be careful not to shatter any of the adjacent tiles as well! In the lack of a center punch, a small chisel or file may be utilized.
If none of these are available, softly tap the tile with the back of your hammer while covering the remaining tiles with painter’s tape. - Remove any remaining mortar and grout from the tile with a scraper. Most likely, grout and mortar adhere to the drywall or wood beneath the tile. At an angle of 20 degrees, slide the chisel along the region where the tile was removed while dragging the blade over the surface (relative to the floor).
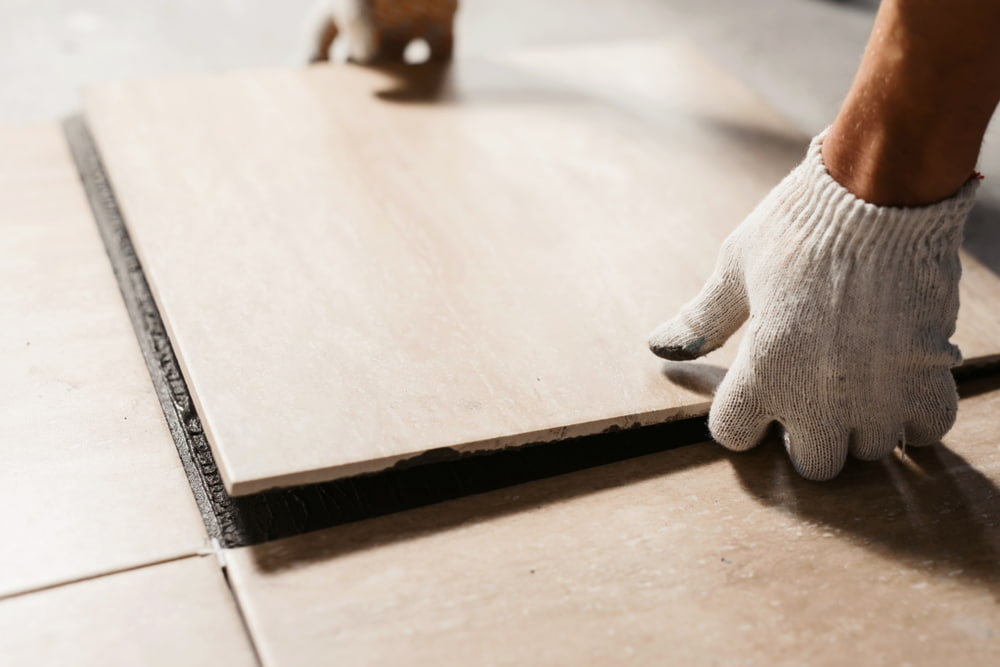
Remove all of the mortar and grout with a scraper. It is not required to be faultless. As long as the surface is sufficiently level for you to fit the new tile into the opening and keep it largely flush with the wall, you’re good to go. - Put pre-mixed mortar on the base of the new tile. The use of latex gloves is required. Utilize your putty knife to collect some thin-set mortar. Apply it evenly and thinly to the bottom of the tile using the edge of the putty knife. Ensure that none of the remaining tiles receive mortar.
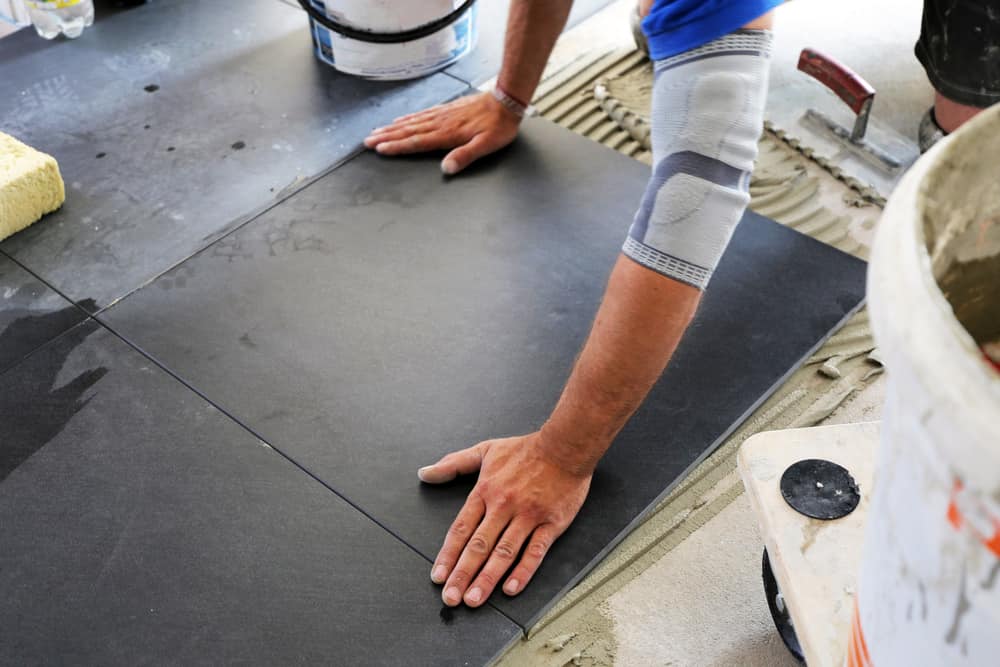
It is challenging to remove! Install thin-set mortar. The thick-bed material is exceedingly difficult to manipulate and is not designed to be used to replace individual tiles. You may also use any form of waterproof adhesive if you so like. - Position the new tile and firmly push it into place. While wearing gloves, lay the tile over the hole created when the previous tile was removed. To install the tile, place it in the hole and press down gently. Extra mortar will be driven out from behind the tile and up its sides if the pressure is excessive.
- Apply grout using a grout float all around the new tile. Apply a little quantity of grout to the grout float’s underside. The surface of the newly placed tile should be brushed with the grout float. Repeatedly apply grout to the tile and surrounding area until all of its small crevices on all four sides are filled. Use a grout float, which is a big, flat tool with a handle, to disperse grout. A hardware or home improvement store carries this item. Utilize grout of the same color as the grout that already surrounds the tiles.
- Utilize a damp towel to clean the tiles. Before the grout cures, scrub the new tile and any other tiles containing grout with a damp towel or old washcloth.
Maintain the integrity of the grout surrounding the new tiles. Your tile surface will be ready for use when the grout has had a full night to cure. If you forget to clean the tiles for a few hours, it will be substantially harder to remove the grout.
If you need further information regarding repairing or replacing ceramic tiles on stairs or any other surfaces don’t hesitate to contact our experts and receive more guidelines.


Your comment submitted.