Most homeowners will need to get familiar with the installation methods or repairing drywall for their kitchen backsplash.
This article explains how to build a kitchen backsplash on drywall. Installing a tile backsplash involves four steps.
Measuring for backsplash installation
Layout, tiling, grouting, and work completion
Let’s construct a drywall kitchen backsplash.
Measure Wall
Kitchen backsplash tiling duration depends on square footage. Correct tile measurements may save money.
Wall measurements determine how many tiles you’ll need. Double the wall’s width and height to determine its square footage.
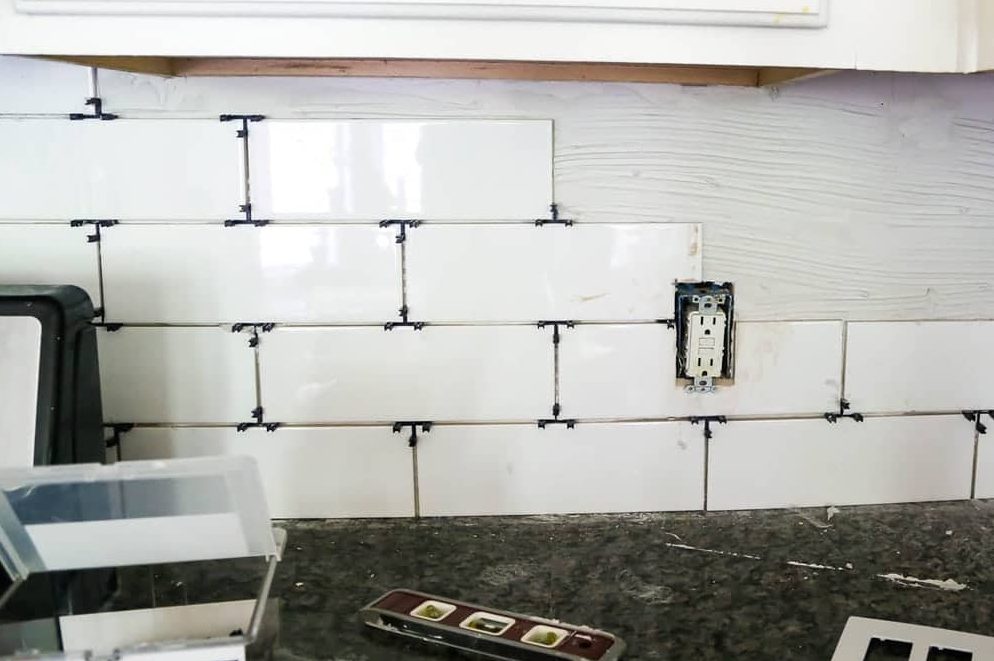
When tiling, watch for outlets and switches.
Add 10% more tile to fill gaps or damaged pieces. In this session, uneven walls need more computations.
Measure four areas. Section “A” is left of the cabinet base and countertop. “B” represents the wall’s midpoint. Right between the cabinet base and countertop is space “C.” The window has space “D.”
Multiply each area’s width and height, then sum the totals to determine how much tile is needed. Budget 10% for spare components. Check mortar, mastic, and grout.
Step 2: Tile Walls
Remodeling is messy. Preparation is key when installing backsplash on drywall.
Start by taping and drop-clothing your work surfaces.
Cardboard sheets put under drop cloths give further protection if a heavy tile or equipment falls. Cover your sink!
Remove oil from the wall. Before installing the backsplash, treat moist areas. Never lay backsplash tiles on an unprepared surface.
It doesn’t have to be ‘paint-ready’ or blemish-free, just smooth. Allow dust to dry after cleaning with a damp cloth.
Priming seals fresh drywall. Prime an area larger than the tiled area to prevent cut-in work while painting. Paint the wall/room before installing tile.
Rebuild Walls
Removing the previous backsplash may damage the drywall depending on how it was attached. Repair drywall using a taping knife and drywall compound.
Caulk and sand cracks and holes. After sanding, vacuum up the dust. Let a damp towel dry to remove any dust.
Ledgerboard
Level a ledger board to provide stability. We’ll use a 1-by-4-inch board. The Ledger board goes where the backsplash’s bottom edge will be. The ledger board keeps the tile level in place without a countertop until the adhesive settles.
Step 3: Layout tiles
Mark the top and sides of your backsplash with chalk. A standard backsplash is 4 inches above the countertop, which is an acceptable minimum height for shielding the wall from splashes and spills.
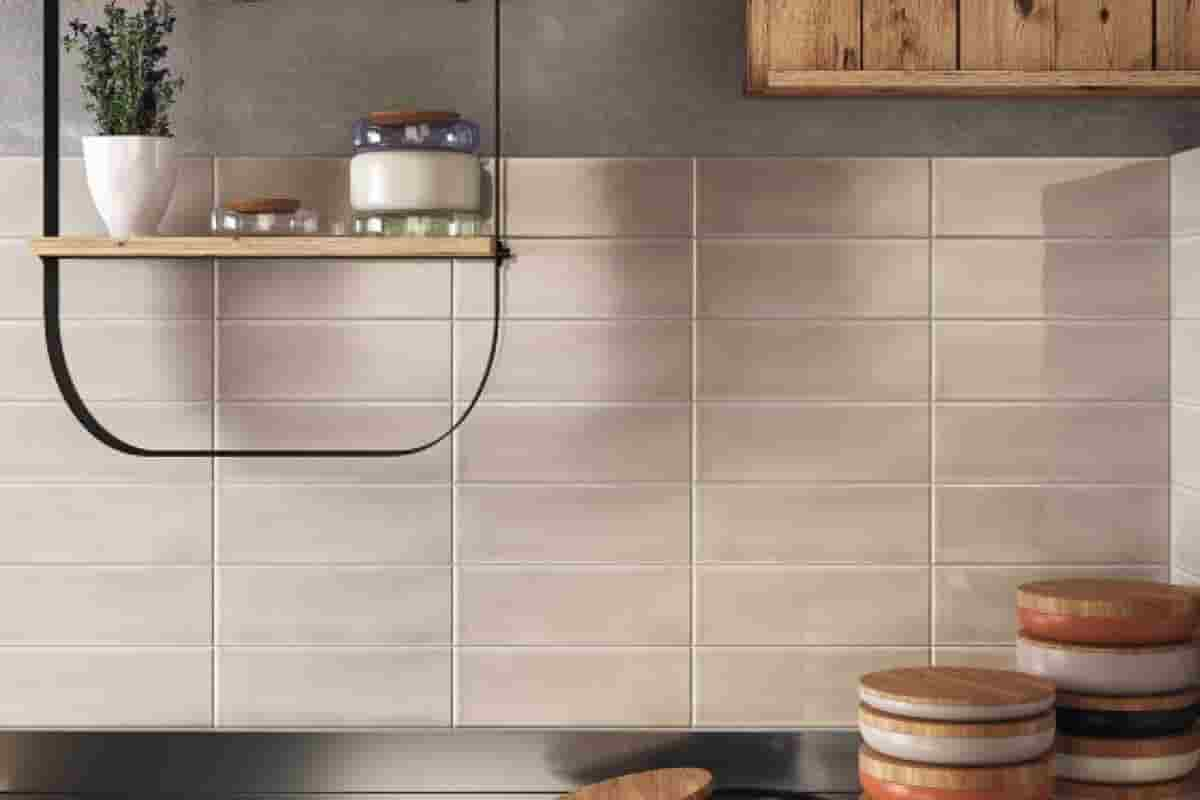
Some of today’s most appealing kitchens have tile backsplashes that stretch to the upper cabinet bottoms.
Start and stop
Tile your starting and stopping points on the wall. The visible wall determines your starting location.
Some tile patterns appear best centered around a faucet or stove.
Check the sink, stove, or counter’s curb for levelness. If you don’t, the grout lines will be irregular. Trim the bottom tile row to fix the unevenness. Leveling the bottom tile course makes things simpler.
Horizontal tile layout
Dry-lay tile along the wall using spacers. If the tile is too thin, rearrange it so you can cut wider sides.
Design vertical tiles
Check the vertical order if your countertop isn’t level, cut tile from the bottom.
Start by leveling the countertop’s lowest point. Allow 1/8 inch for tile expansion. Mark the tile-top wall. Extend the line using a level. This line will be your cutting guide for counter tile.
Drywall installation methods
Speaking of the installation methods, you should know that it may be put directly on drywall, but only if the existing sheetrock is smooth and clean. If not, we will need to cut the outdated drywall and screw the new one in its place. Are you unsure if you need to install one in your kitchen? Most kitchens have relatively little room between the cabinets and the counters, which makes cleaning difficult.
Additionally, there’s always a chance that water or tiny food particles from your sink can spill there and make a big mess. This is when a backsplash made of tiles is useful. It shields your walls from errant splashes while improving the surface’s appearance.
After all, cleaning a tiled surface is much simpler than cleaning a typical wall, particularly when it comes to stains. However, you must first prepare the drywall before installing it.
The surface preparation will vary depending on whether the drywall is new or old. Here’s how to handle both situations:
Fresh drywall
Switch plates, outlets, and other electrical parts should all be removed.
Verify that it is securely fastened to the studs.
If it has any gaps, patch them up using drywall tape and allow it to cure.
Once it has dried, you must sand the area and use a vacuum to remove all of the resulting dust.
Use a cloth to wipe the area once more and get rid of any leftover dust.
You may now use the primer.
dated drywall
Switch plates, outlets, and other electrical parts should all be removed.
Use a putty knife to remove any old wallpaper from the wall if there is any.
Use a decent cleaning solution to clean the area, then let it air dry thoroughly.
Sand the area and spackle any holes if there are any.
After vacuuming, use a moist cloth to clean the area. Dry it out.
Put the primer on.
If you are putting a backsplash on ancient drywall, keep in mind that the first thing you need to do in both situations is to make sure the drywall is still structurally sound. If there are any problems, speak with a specialist right away to get them rectified.
How should a backsplash be installed properly?
Here is how to correctly install a backsplash, so there are no future issues.
Plan it – The first step is to start thinking about how you’re going to approach it and how much ground has to be covered. Be extremely cautious about taking the appropriate measurements since doing otherwise might result in many problems in the future.
Select the tiles: This is also a good time to consider the kind of tiles you want to use for your backsplash. The tiles used for this function are often lighter and thinner than those used to lay tiles. Inspect the tiles to ensure they are of good quality and that they will match or enhance the design of your kitchen.
Before applying any glue to the wall, attempt to keep the tiles in place to determine if you will need to make any cuts; you may install a ledger board or insert a block of wood at the edge of the tiles to keep them in place correctly. If any cuts are necessary, be sure to mark them precisely.
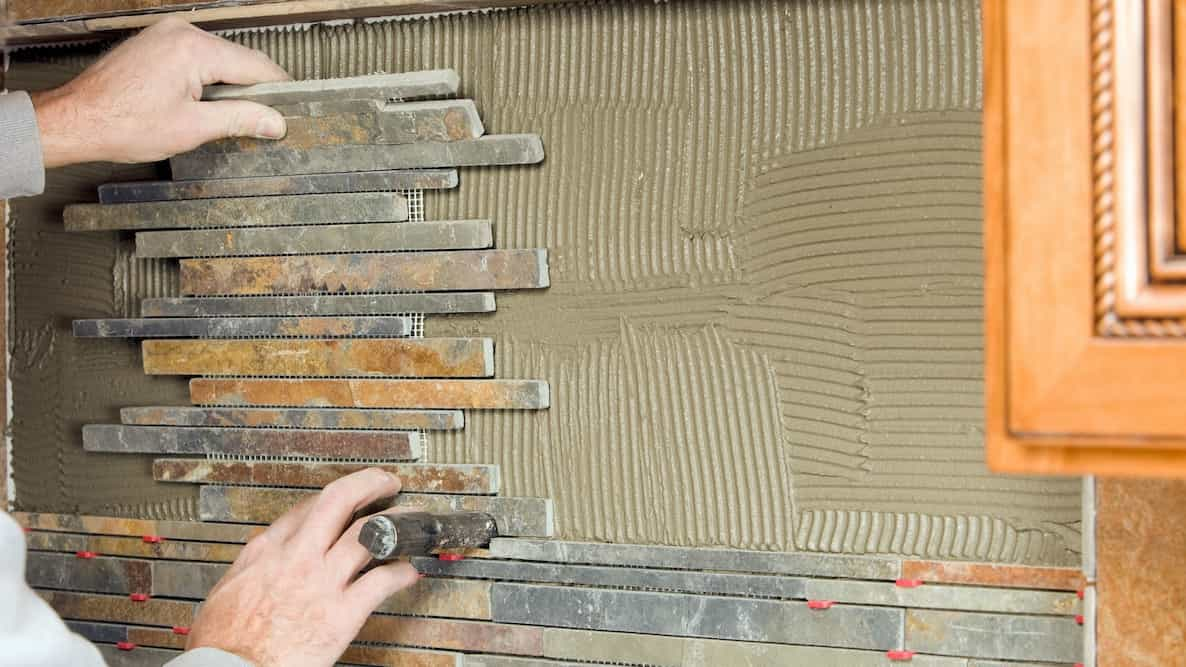
Install the tiles – To install the tiles, you may use mastic or a powerful adhesive that is suitable for tiles. Install the tiles by beginning at the bottom and working your way up, being careful to cover the whole space.
Each tile you lay on top will be properly supported in this manner. The tiles should next be lightly pressed to ensure that they adhere to the glue.
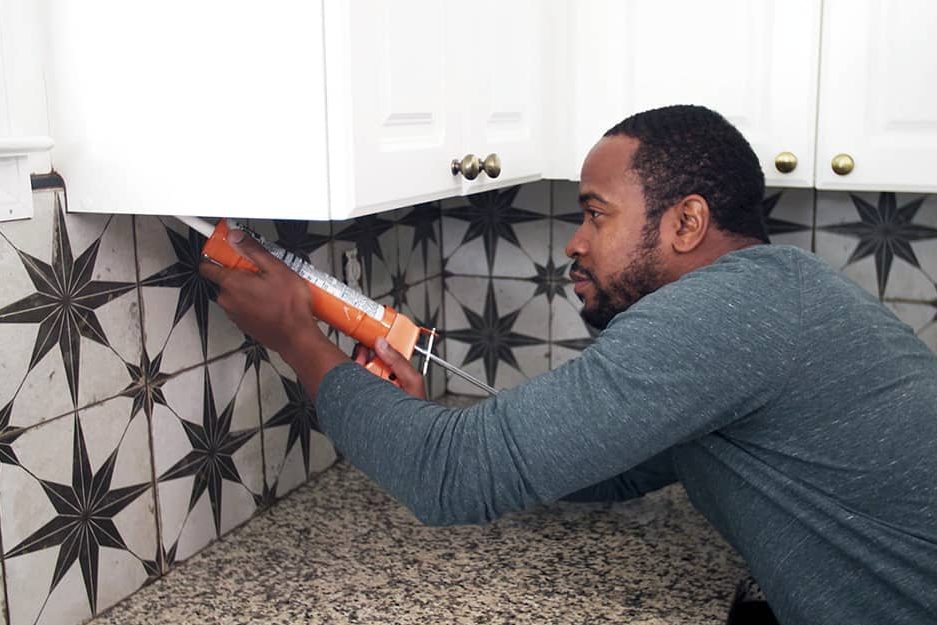
Once the glue has had time to cure completely, you may begin grouting the tiles. Fill in each gap evenly to create an entirely level surface. Once it has dried, use a moist cloth or sponge to remove any extra grout. Be careful not to rip off the applied grout between the tiles.


Your comment submitted.