In tile industry and for historic ceramic floors, since the middle of the 19th century, installation methods haven’t had an evolution much other than the use of better tools and contemporary materials.
This method for installing encaustic and geometric tiles was described by M. Digby Wyatt in 1857 while working as an architect for Maw & Co., one of the leading encaustic tile producers in Britain during the 19th century:
Initially, either a level brick layer or a 2-1/2 “To build a firm foundation for the tiles, either a bed of concrete made of quicklime and gravel or a combination of Portland cement and fine, clean sand was laid.
The floor boards needed to be hauled up, sawn into short lengths, and inserted between the joists if the tiles were to be laid over an existing wooden floor. Concrete filled in the gaps, brought the base flush with the joists’ upper faces, and produced a level surface that was completed in one day “of the floor’s finishing edge.
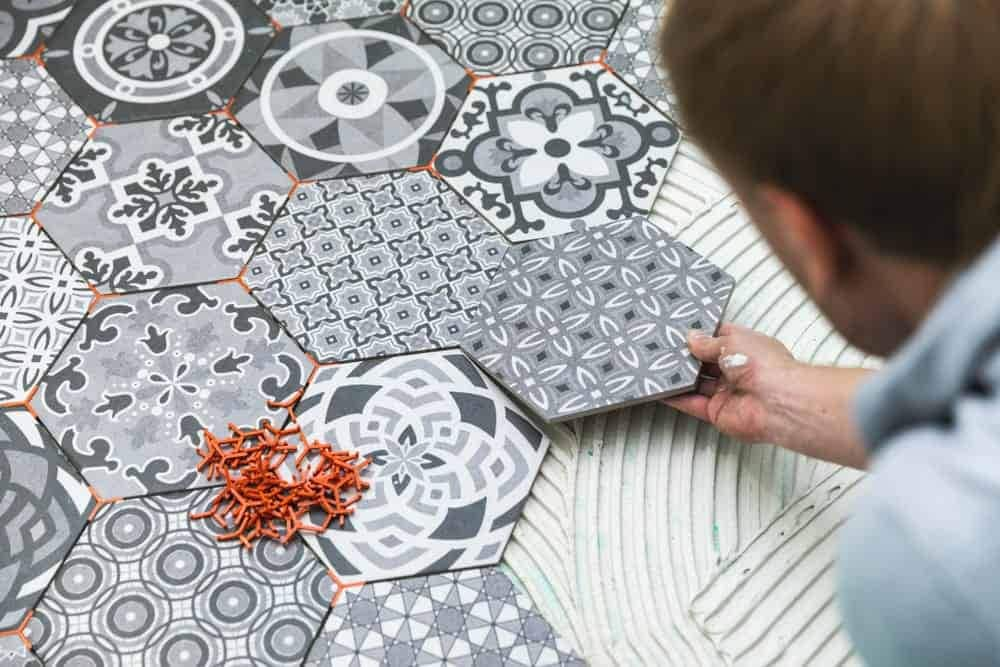
Then, a coating of cement mortar was added. Due to this, the tiles could occupy the same space as the floorboards they were meant to replace.
Skirting boards or shoe moldings have to be taken out before installing the tiles and put back in afterward. This prevented the need to precisely cut the outside tiles to fit and produced a neater appearance.
The floor layout was then chalked off using chalk lines or mason’s string to divide the area into equal quadrants. Two parallel strips of wood, or “guide pieces,” about 4 feet long, delineated the first area to be set out “wide.
Between these strips, cement was applied in a uniform thickness. The tiles were set in the cement and smoothed with a straight edge after being properly wetted. While the tiles were being installed, the foundation needed to be maintained moist.
Extensive patterns were kept straight by little strips of wood temporarily positioned at a right angle to the guide pieces.
After the bed had dried, the joints were filled with pure cement mortar that had been blended to a cream-like consistency and occasionally dyed with lamp black, red ochre, or other natural pigments. The tiles were cleaned of extra mortar using a piece of flannel or a sponge.
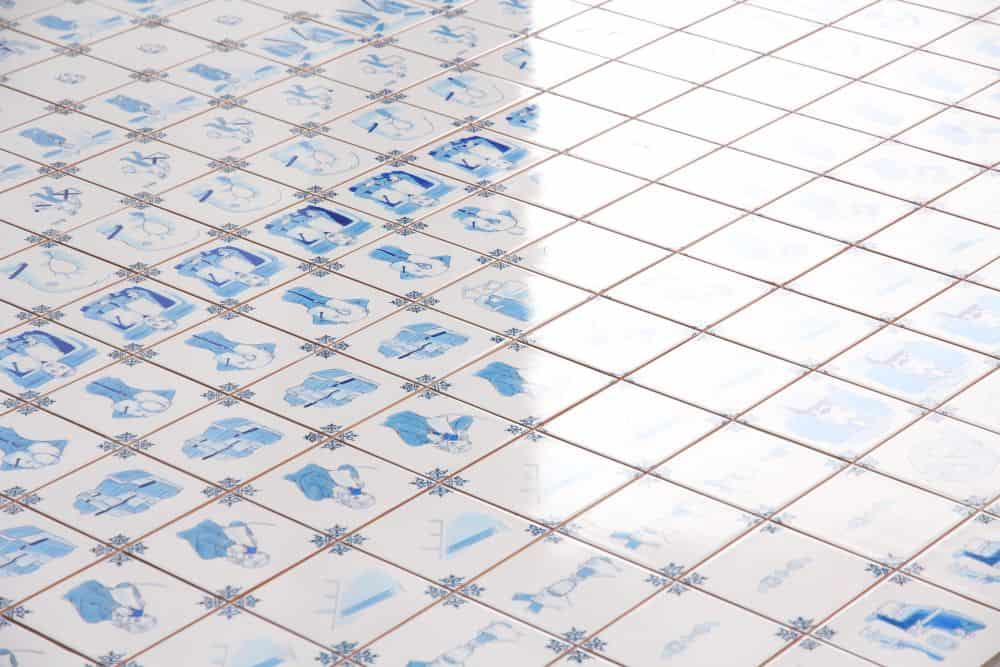
For 4-6 days after tile installation, the floor could not be stepped on while the cement was still too soft. Saline scum, which frequently developed on the surface soon after the tiles were set, could be removed with the occasional washing.
Suggestions for Setting Tile, published by the Tile Manufacturers of the United States of America in 1904, was an attempt to standardize tile laying almost 50 years later, in the year 1904.
The advice Wyatt provided was pretty similar to this. There were a few variations, though, such utilizing hollow clay tiles as a foundation and thick tar paper when installing tile over a wooden floor to shield the boards from the moisture in the mortar mixture.
To create a tile floor that would last, emphasis was placed on using the best cement, sand, and purest water available.
It is no longer necessary to soak the tiles before setting them, however using firmer mortar was advised to prevent it from creeping up between the tiles.
Later in the 20th century, tile-laying techniques underwent a little more modification, primarily as a result of the accessibility of new materials and technologies.
Small ceramic mosaic tiles were produced in 12″ square sheets by the 1920s, and they were held together by a face-mounted paper “skin.”” This allowed the 12 bricks to be laid “Instead of using the little tiles one at a time, arrange the tile square as a whole.
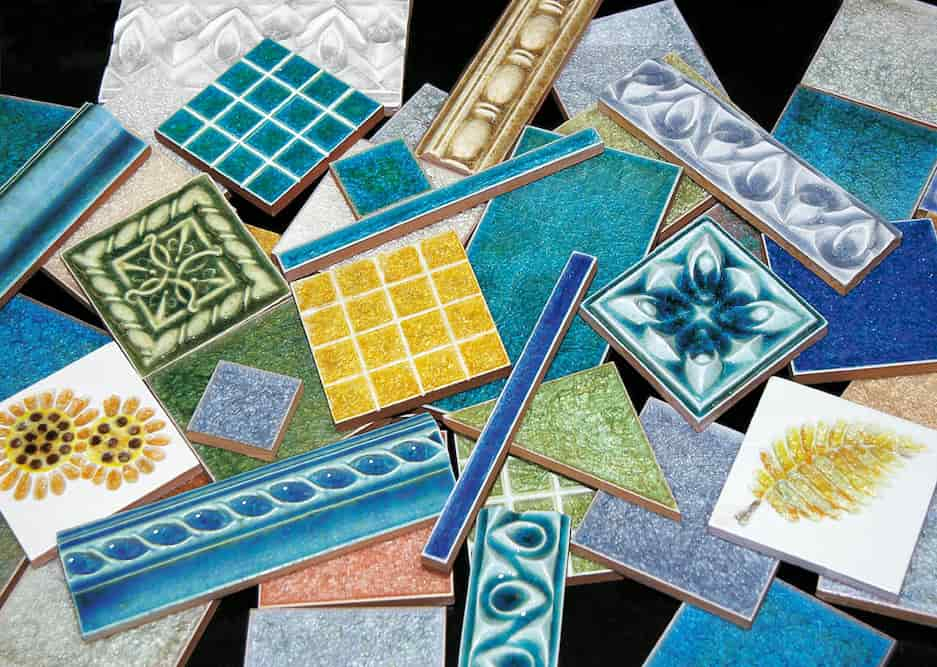
The tiles adhered incredibly well when mounted straight in the cement. However, the face-mounted paper made it impossible for the tile-setter to see the tiles and determine whether they were being laid straightly.
It was more difficult to realign misaligned tiles because the paper wasn’t taken off until the tiles were well embedded in the cement bond layer. A fabric mesh backing later took the place of this paper “skin”. As soon as the moisture from the bond coat loosened the mesh from the back of the tile, this allowed the tiles to be aligned.
It also allowed one tile to be cut free from the mesh and placed somewhere else right away. Although the fabric mesh accelerated the setting of the tiles, it occasionally led to a weaker bond because it decreased the area in which the backs of the tiles made contact with the bond coat.
After World War II, new techniques for laying a ceramic tile floor foundation were created to work better with brand-new materials such reinforced concrete, expanded wire mesh, polyethylene, and waterproof plywood.
The installation of tiles was made easier by new adhesives and grouts, and a wider range of epoxy and cement mortars allowed for various setting bed thicknesses.
However, several of these “new” materials, like plywood, particle board, oriented strand boards, and other wood panels, are no longer advised for use with ceramic tile after 50 years of actual use.
Mortar beds have decreased in size from several inches to as thin as 3/32, making them much lighter, more flexible, and thinner than they once were “.
Ceramic floor tiles are installed using a wider range of supplies, such as waterproof membranes and bonding chemicals.
Basic installation techniques haven’t changed all that much, but they do change depending on the kind of subfloor that the tile is going to be set on.
Although there are still issues with flat underlayment and good adhesive, there have been improvements in the speed and simplicity of installing the tiles.
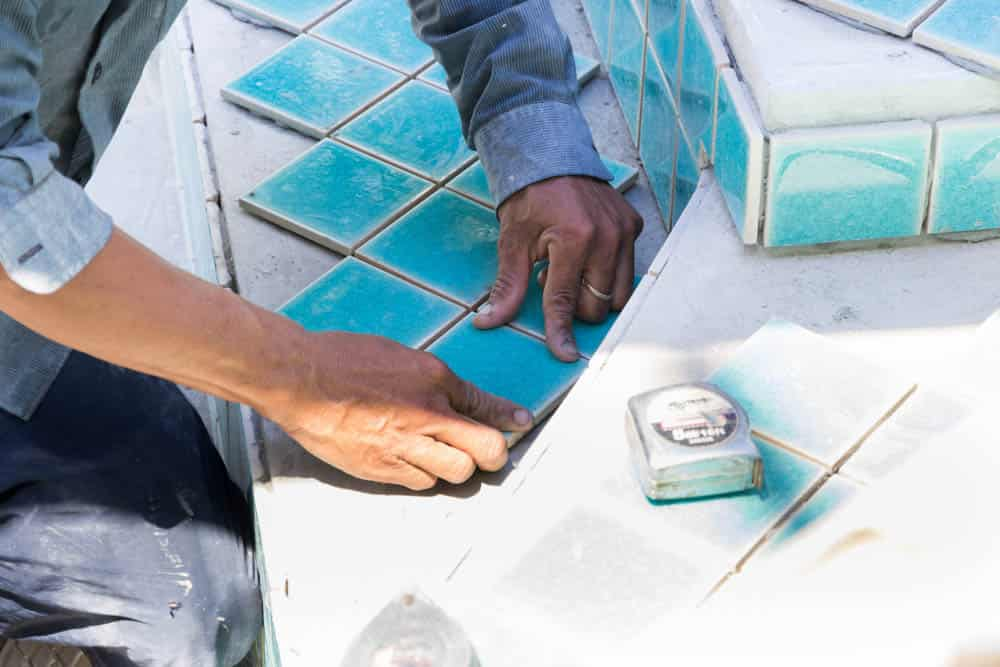
Numerous broken tiles and other failures have been caused by the traditional method of sawing the original floor boards and fitting them between the joists, which is being employed today to maintain a low final floor profile.
Instead, if the existing floorboards are in good condition, it is preferable to leave them in place and install cementitious backer boards (CBU), which are available in thicknesses varying from 14 to 5/8″, as the setting bed for the tiles.
The tile experts of our team are ready and eager to work with professional traders and importers around the world.






Your comment submitted.