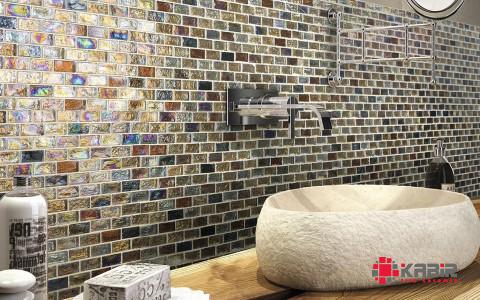
Glass tiles are a stunning choice for adding a touch of elegance and sophistication to any home renovation project. Whether you’re updating your kitchen backsplash, renovating your bathroom, or creating a unique art piece, glass tiles can instantly elevate your space. However, working with glass tiles can be a bit tricky, especially when it comes to drilling through them. In this comprehensive guide, we will delve into the art of drilling glass tile, exploring the tools, techniques, and tips you need to master this challenging task successfully. #### Understanding Glass Tiles Glass tiles are becoming increasingly popular in modern interior design for their sleek appearance, luminous quality, and versatility.

.
 Available in a variety of shapes, sizes, colors, and finishes, glass tiles can be used to create a wide range of design schemes, from minimalist and contemporary to classic and timeless. However, their fragile nature and slick surface make them more challenging to work with compared to traditional ceramic or porcelain tiles. ### Why Drill Glass Tile? Drilling through glass tile may be necessary for a variety of reasons, such as installing mounting brackets, anchors, or decorative elements. While the thought of drilling into glass may seem daunting, with the right tools and techniques, you can achieve clean, precise holes without causing damage to the tile. Whether you’re a seasoned DIY enthusiast or a newbie looking to tackle your first glass tile project, mastering the art of drilling through glass tile is a valuable skill to have in your toolkit. ### Tools Needed for Drilling Glass Tile Before you begin drilling into glass tile, it’s crucial to gather the right tools to ensure a successful outcome. Here are the essential tools you’ll need: 1. **Glass Drill Bit**: The most critical tool for drilling through glass tile is a high-quality diamond-tipped glass drill bit. Unlike traditional drill bits, which are designed for drilling through wood or metal, glass drill bits feature a diamond-coated tip that can cut through the hard, brittle surface of glass without cracking or shattering the tile.
..
 2. **Masking Tape**: To prevent the drill bit from slipping on the smooth surface of the glass tile, apply a strip of masking tape over the area you plan to drill. The tape provides traction and helps to reduce the risk of slippage, ensuring a clean and precise hole. 3. **Safety Gear**: When working with glass tile, it’s essential to prioritize safety. Wear safety goggles to protect your eyes from flying glass shards and gloves to prevent cuts or injuries while handling the tiles. 4. **Water Source**: Drilling through glass generates a significant amount of heat, which can cause the tile to crack or shatter. To prevent this, it’s recommended to use a constant water source, such as a spray bottle or a drip system, to cool the drill bit and lubricate the cutting surface as you work. 5. **Drill**: A variable-speed drill with a depth control feature is ideal for drilling through glass tile. Ensure that the drill is set to a low speed to prevent overheating and minimize the risk of damaging the tile. ### Techniques for Drilling Glass Tile Now that you have gathered the necessary tools, let’s explore the step-by-step process for drilling through glass tile: 1. **Marking the Drill Point**: Begin by marking the exact location where you want to drill the hole on the glass tile. Use a pencil or a marker to create a visible guide that will help you position the drill bit accurately.
…
 2. **Secure the Tile**: Place the glass tile on a stable, flat surface, such as a workbench or table. If possible, use a clamp or a non-slip mat to secure the tile in place and prevent it from shifting during drilling. 3. **Apply Masking Tape**: To improve traction and prevent slippage, apply a piece of masking tape over the marked drill point on the glass tile. The tape will provide a surface for the drill bit to grip onto, reducing the likelihood of the bit skidding across the tile. 4. **Start Drilling**: With the glass drill bit securely inserted into the drill chuck, position the tip of the bit on the marked drill point. Apply light pressure and start drilling at a low speed. Allow the drill bit to cut through the glass tile gradually, without forcing it or applying excessive pressure. 5. **Add Water**: To prevent overheating and minimize the risk of cracking, spray a constant stream of water onto the drill bit and the cutting area as you work. The water serves as a coolant, dissipating heat and lubricating the cutting edge to ensure a smooth and clean cut. 6. **Monitor Progress**: As you drill through the glass tile, pay close attention to the depth and progress of the hole. Avoid drilling too quickly or applying excessive pressure, as this can cause the tile to crack or chip. Take your time and maintain a steady hand to achieve a precise and clean hole. 7. **Finish and Clean**: Once you have drilled completely through the glass tile, remove the masking tape and wipe away any excess water or debris. Inspect the hole to ensure it is smooth and free of any rough edges or burrs.


Your comment submitted.