The installation process and the cost of porcelain tiles for outdoor are always tricky if the tiles are large like 450 x 450. The total price for supplies and expert installation of outdoor tile tends to range from $1,380 to $3,520. To the tune of $2,450, which is the typical price tag throughout the country.
Contractors often quote the cost of tiling according to the square footage of the area being tiled. Prices per square foot are about $9 to $65. Tiles and other project specifics may significantly impact overall cost, which helps explain the wide range of quoted prices. If you need a ballpark figure, you may use the median price of $37 per square foot.
What is the going rate for tiling a patio or a porch?
Average throughout the country: $2,450
The price range: is around $1,380-$3,520.
Bottom of the barrel: $600
Ultra-luxury, top-of-the-line: $14,000.
Outdoor tile installation typically costs between $1,380 and $3,520, but this range is only an estimate.
Tiles for outdoor use allow you to design a wide variety of hardscapes. There is a wide variety of options, including outdoor kitchens, patios, pool decks, and garden walkways. Many alternatives mean many pricing ranges.
Professional installation of patio tiling can set you back at least $600. Tiling a stoop or front stairs is an example of a small, straightforward job that will fit in this range. The cost of tiling a sizable area, such as a patio or pool deck, may reach $14,000.
Budgeting by Project Type
The phrase “outside tile installation” is somewhat generic. A rough cost estimate is impossible without knowing the dimensions and design of your tiling job.
In the following table, we’ve included the average dimensions of numerous popular outdoor tile elements along with an approximate price for the whole installation.
We estimated expenses based on the national average of $37 per square foot, which includes professional installation, tile, and all other required supplies. You may use the same rate to estimate your budget if you know the size of your particular project.
Using the low-end rate of $9 per square foot may give you a more precise estimate if you intend to utilize inexpensive materials like ceramic or concrete tiles. A more realistic estimate would cost $50–$60 per square foot, with the upper end at $65 per square foot if you want to add pricey genuine stone tiles.
Expenses Associated with Various Types of Tiling
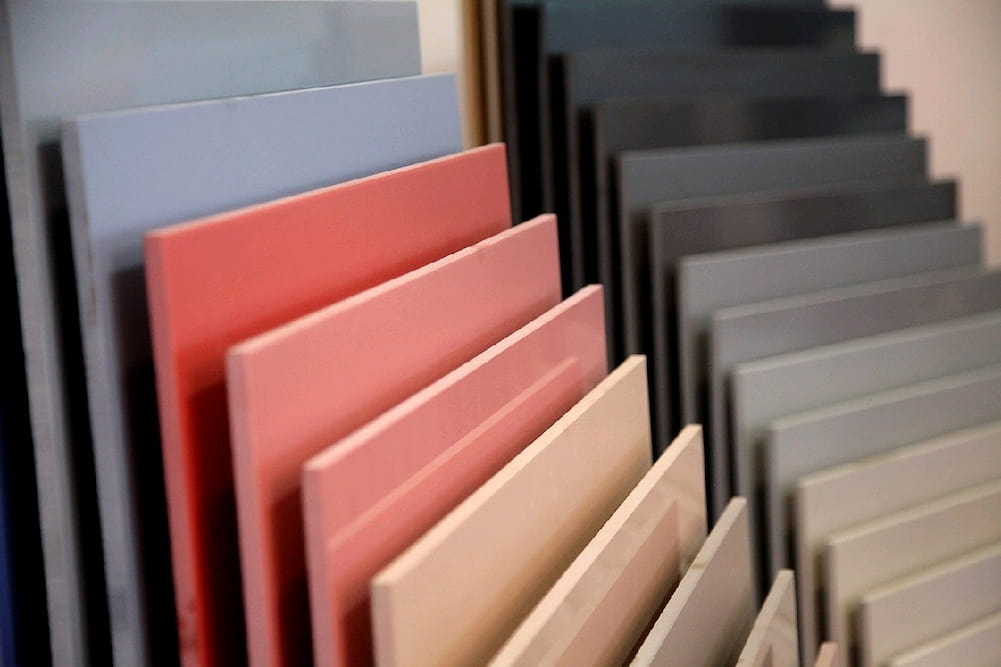
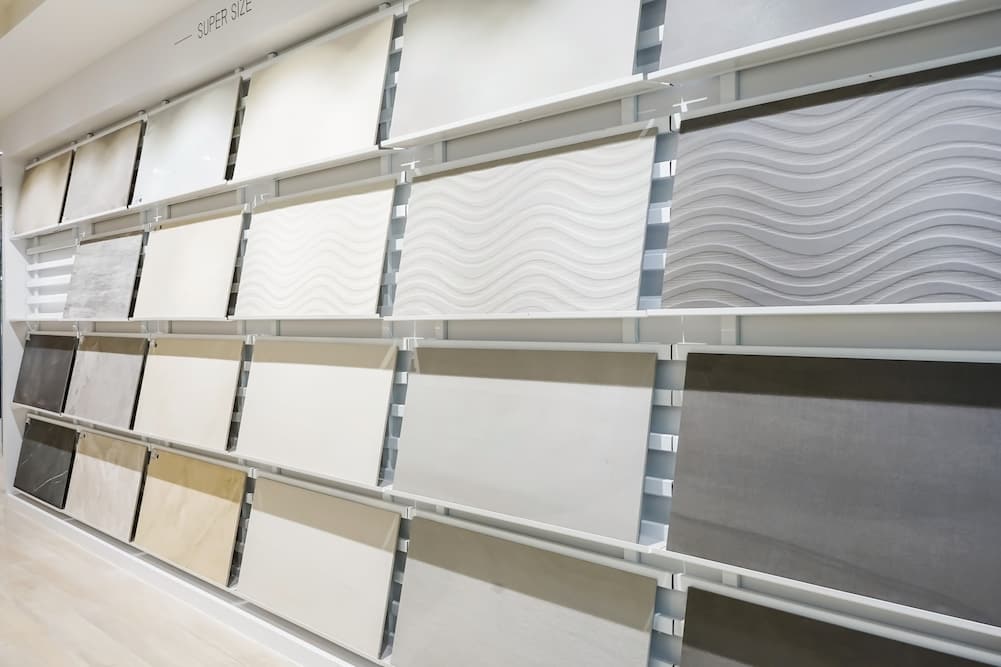
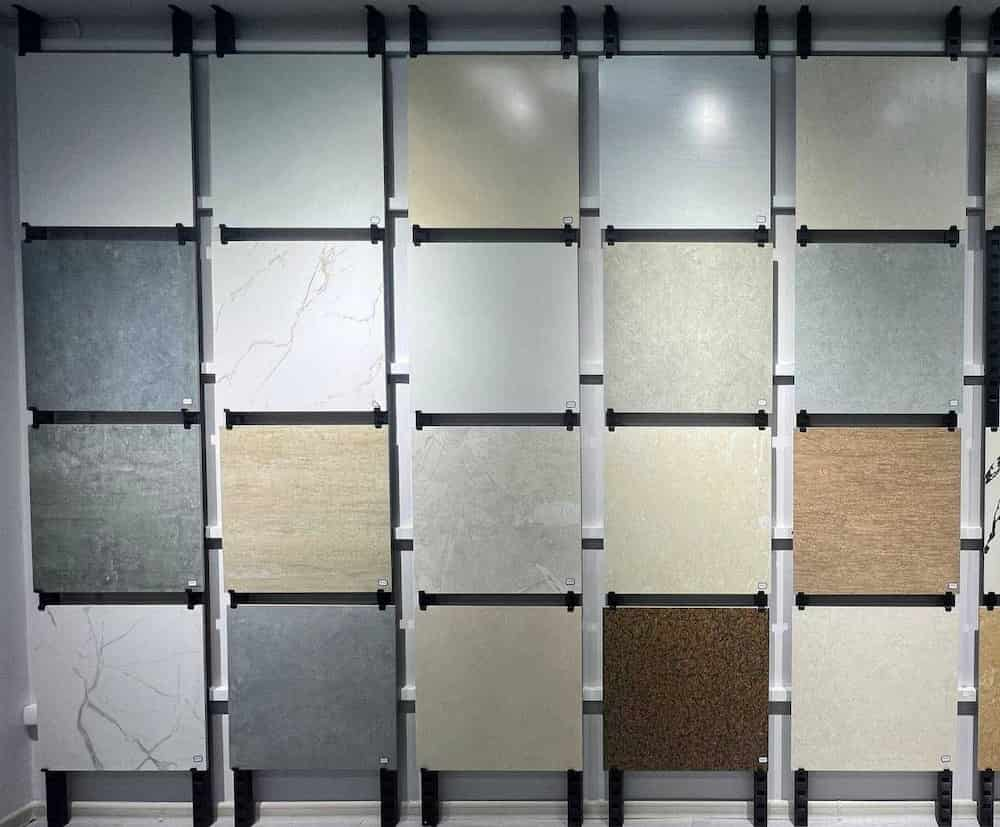
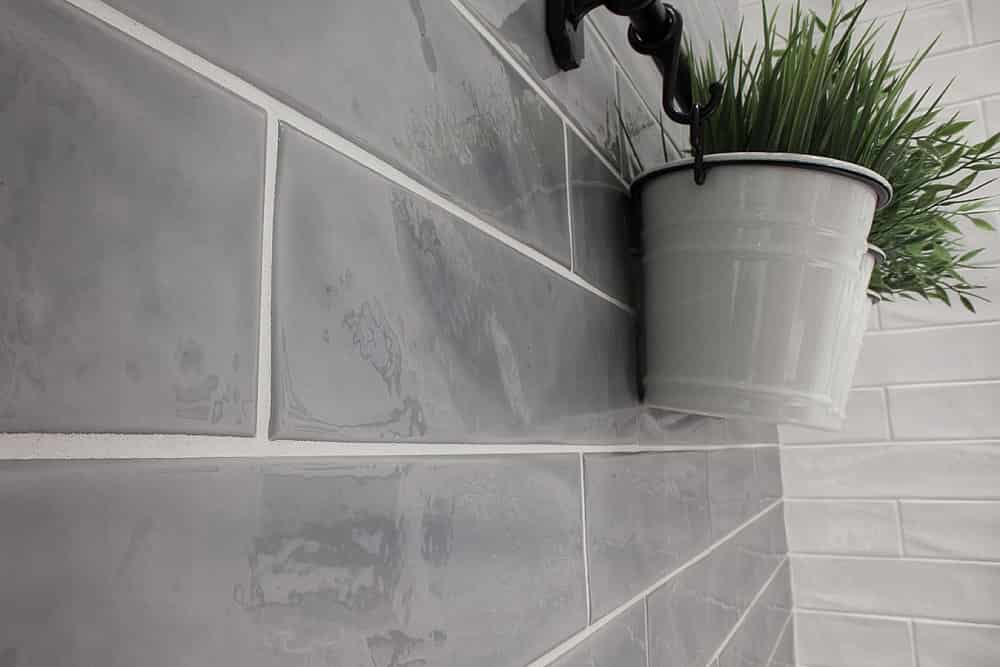
Outdoor use won’t work for every tile material, but you may still choose from a wide variety of looks, textures, shapes, and colors. If you want to get the greatest outdoor tile, you should consider:
Money available for spending
You’re looking for; the aesthetic
- What kind of upkeep are you prepared to put up with for your tile?
- The expected number of people walking on the tile’s surface every day
- Getting wet from the rain or a pool
It becomes really cold in the winter if you reside in a place where
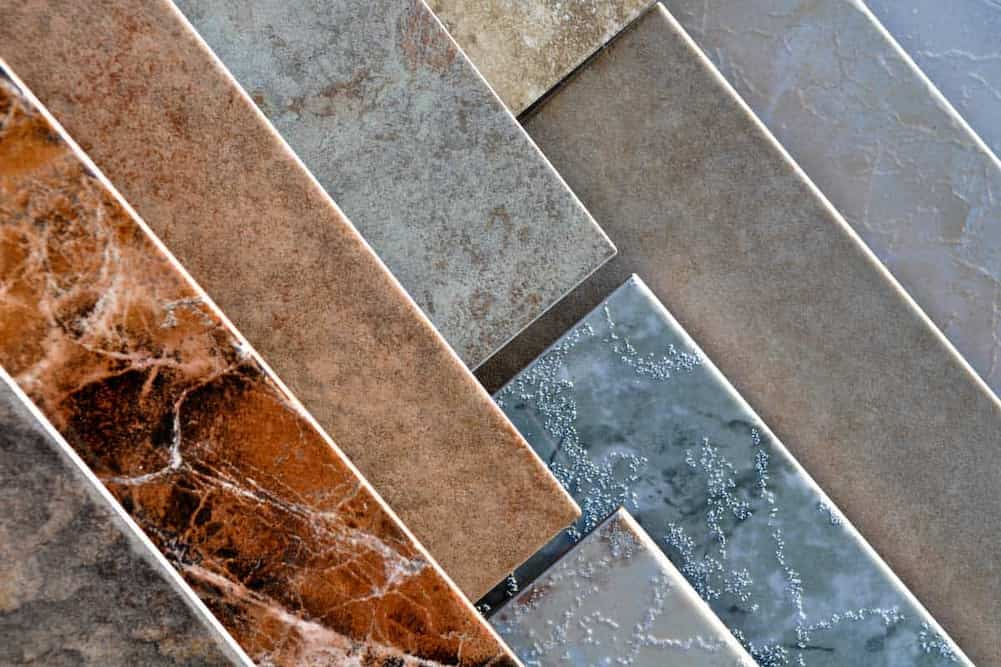
What kinds of things can you choose from if you’re looking for outdoor tile? We’ll go through some of the most common materials so you can learn about their benefits and drawbacks. We also provide average prices so you can easily compare various options.
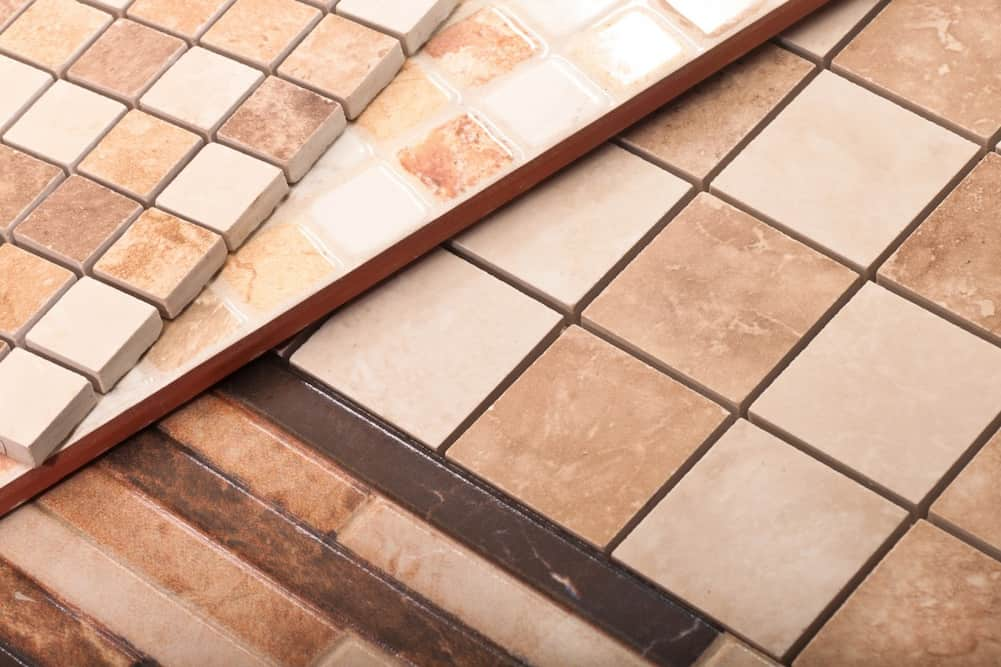
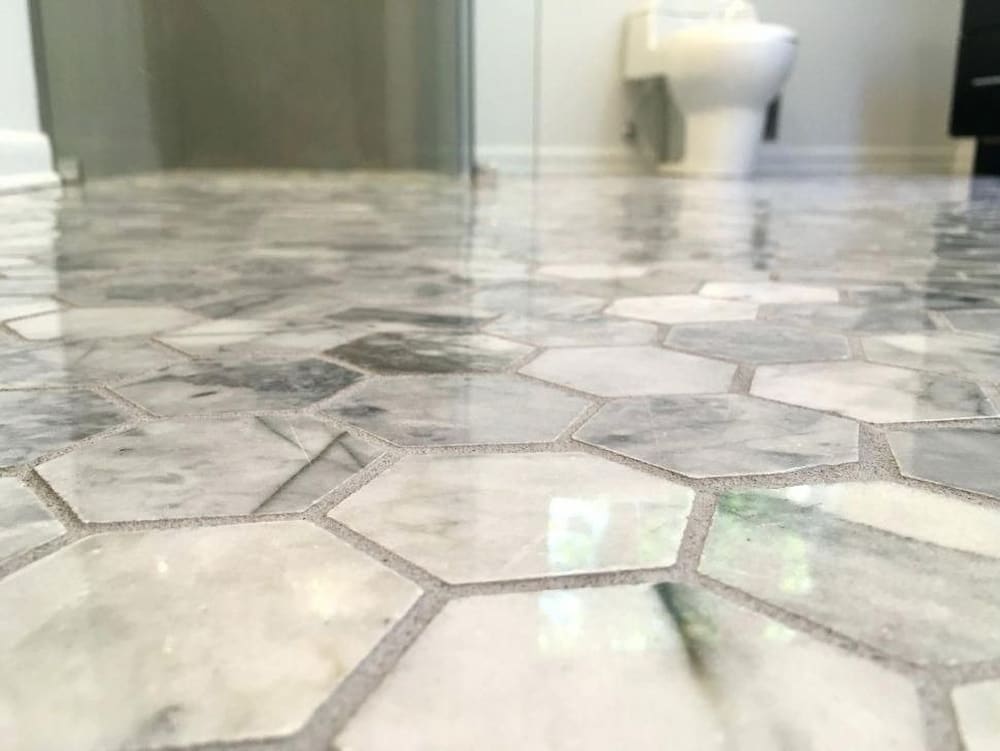
mosaic design
The typical layout for tiling is in parallel lines. That’s the simplest and least expensive design. A more engaging design may add 10% to 20% to the overall price of your project.
Here are a few examples of well-liked designs:
- Diagonal
Asymmetrical Rows
- Herringbone
Save money
- Ashlar
- Versaille
- Step
Extra fabric is required for these designs, and others like them. As you (or your contractor) will likely need to trim some tiles to make them fit in the pattern, you will need to buy more tiles than you would for perfectly straight rows.
Rating for absorption of water
Just where in the backyard do you see your new tile hardscape? How frequently, if ever, will the tile get wet due to rain or pool splashes? In such a situation, choose tiles that won’t become brittle and shatter due to excessive water absorption.
Tiles may have one of the following water absorption ratings:
- Water absorption is lower (7% for non-vitreous).
- Semi-vitreous: takes in water at a 3%-7% clip
When exposed to water, vitreous materials absorb between 0.5% and 3%.
- Water absorption is deficient (0.5%).
Use only vitreous or impermeable tiles outside. Tiles with higher levels of water resistance tend to be more costly, which is why outdoor tiles often cost more than indoor tiles.
Evaluation based on the PEI scale
The Porcelain Enamel Institute (PEI) grade is another crucial metric to consider when selecting the best outdoor tile.
A PEI score is defined. A tile’s ability to withstand the wear and tear of foot traffic is quantified by its PEI rating. A higher PEI number indicates that the tile is suitable for high-traffic locations.
It’s common for the price of tiles to increase in proportion to their grade of durability. This implies that tiles designed for a high-traffic patio will cost more than those intended for purely aesthetic purposes in a garden.
There is a gradient between 1 and 5 on the PEI scale, with 1 being the least abrasion-resistant and 5 the highest. Tile with a PEI rating of 4 or 5 is advised for outdoor living rooms, eating areas, and other hardscapes that see heavy usage often.
Relatively Low Slippage
Anti-slip properties are especially useful in high-traffic and high-moisture situations (like a pool deck). A tile’s slip resistance may be gauged by its Coefficient of Friction (COF) value.
Exactly what does it mean when something is rated by its coefficient of friction? The values assigned to a COF range from 0 to 1. Tiles with a higher grade will have more friction and be less slippery. A tile with a slip resistance rating of 0.4 or greater is safe to walk on. The unprotected outdoor tile should have at least a 0.6 rating.
The price of outdoor tile may be affected by the tile’s slip resistance, which is an important consideration. Tiles vary in their slip-resistance depending on factors like texture and glaze.
Substrate
Thin-set mortar is applied to a substrate, which serves as the foundation for your tile installation. A concrete slab is an ideal base for installing tiles outdoors. Having a concrete slab poured will increase the overall cost of your project by $4.34–$7.73 per square foot. You may save this cost if your home already has concrete features like a concrete patio.
The cost of tiling a pool
Tile work for an in-ground pool is the most complex and expensive thing that can be done in an outdoor space.
As with other projects, the actual cost will depend on square footage and the kind of tile utilized. That’s why the cost fluctuates so drastically.
Additional Services
When planning your outdoor tile installation budget and discussing your wants with your contractor, keeping the overall picture in mind is important. In other words, what steps must you take to get the site ready or have professionals do it? To what extent will the new hardscape contrast or complement the existing landscape?
If you think about these things before you break ground, you may save money on unexpected expenses. If you anticipate everything you may spend money on, you will have a significantly lower chance of going over your budget.
The tearing out of outdated ceramic tile
To update an existing tile feature, you must first remove the outdated tile. For an additional $2 to $4 per square foot, the tile contractor should be able to remove the tile for you.
Your contractor may have to do more than just remove the old tile before the new tile can be attached to the floor. This may include removing any accumulated dirt, mold, or moss and filling up any chips or fissures on the concrete’s surface.
The removal of outdated tiles may become more expensive due to the additional effort required.
Grading of land
The cost of land grading may range from $100 to $3,400, depending on the unique challenges of each yard and the amount of labor required to address them.
Is the surface level where you want to lay tile? Your contractor may need to do some little grading before laying the concrete substrate and installing your tile feature if there are any bumps, dips, or holes. The cost of grading a small area like this will be lower.
If your whole yard is sloped, things become trickier. In such a situation, grading the land might be a massive undertaking requiring specialized machinery and a lot of man-hours. Such projects tend to cost more than average.
Planting plans
If you put in tiles outside, you may as well go all the way. If you’re already using a professional landscaper, it could be a good time to completely remodel your yard, whether it’s the front or the back. The average cost for a large landscaping job that includes the whole yard is between $2,204 and $6,182.
Your new tile feature—be it a patio, walkway, or outdoor living space—is only one part of the whole picture, and that is your garden. Your new landscape feature will look great and complement the existing elements if you have a designer create a new plan for it.
You should expect to spend a lot of money on a brand-new landscape, but the return on investment will be enormous.
How Much Does It Cost to Lay Tile Outside Your Home?
If you have some expertise with home remodeling and are looking for a simple DIY project, consider tiling over your existing concrete. It takes time and precision to properly install a tile feature in an outdoor area, but this is not an overly difficult process if you know what you’re doing.
Take some time off if you plan on doing your own tile work. During setup, any assistance is much appreciated.
Tiling is a job that will have you spending a lot of time on your hands and knees. If you often get back pain, this is not the best DIY project for you.
To do this, you’ll need
DIY tile installation may save you money on labor costs, but it will require you to invest in tile as well as any special equipment.
Tile installation requires the use of a few power tools. Fortunately, these items can be rented from almost any major hardware retailer. The rest of the equipment and supplies you’ll need won’t break the bank, making this a fantastic landscaping job for the frugal homeowner.
We’ve included a breakdown of the typical costs associated with laying the tile outside in the table below (other than the tile itself). See the “Cost by Tile Material” section up above for more on tile prices.
DIY Tile Installation for Outdoor Spaces in 10 Easy Steps
- Make sure the groundwork is ready for the concrete. You should always begin with a clean slate, so make sure the concrete slab you want to lay tile on is spotless before you begin the installation process.
First, pressure-wash the concrete to eliminate the dust, mildew, and grime that has built up over time. After pressure washing, you might use a leaf blower or broom to sweep up any lingering dust or debris.
- Get your supplies ready to go. Once the concrete is cured and you are ready to begin tile installation, you first want to set up your power equipment and put out all the items you need so they’re convenient.
This is because there will be a short window of opportunity to place the tile once the mortar has been distributed.
- Combined the mortar. To figure out how much water to add, observe the directions on the bag of mortar you bought.
Mix the mortar using a hammer drill fitted with a mixing attachment after adding the required quantity of water. If you want to put in the extra time and effort, you may mix the mortar by hand.
- The outside rows should be set up first. Install tiles along the room’s perimeter first.
Spread the mortar in a thin, level layer with a flooring trowel. Use a rubber mallet to press the outside tiles down into the mortar firmly. Don’t get in a hurry, and lay only a few tiles at a time.
Check to see that the rows are all straight. As you proceed, check the tiles’ alignment using a level to make sure they’re all sitting flat against one another.
- Learn the ropes and work your way up. Using the outside borders as guides, continue laying tiles one at a time to make uniform rows.
If there isn’t enough room between the tiles, use spacers. The distance that should be left between tiles determines the size of the spacers that should be used. Commonly used spacing sizes are 1/16 and 1/8 inches. When tiling, leave a space of approximately half an inch between the final tile in each row and the wall.
- Slice off what you need. In certain places, such in tight corners or around the borders, you won’t be able to fit a whole tile.
Get precise area measurements, and then cut tiles to fit using a tile saw. Cut patterned tile such that the pattern is maintained as much as possible.
- Please wait for the mortar to dry. After you’ve laid all of the tiles, you should wait 24 hours for the mortar to cure by leaving the area uncovered and covered in plastic.
Please refer to the manufacturer’s instructions for the particular curing time required of the mortar you purchased.
- Combined the grout. Repeat the process with water to prepare the grout when the mortar has enough time to harden. For specific mixing requirements, please read the bag’s instructions.
- Take away any surplus mortar. You should clean up the joints between the tiles using a bull point chisel to get rid of any extra mortar before applying grout.
- Finalize the project by grouting. Apply grout to all tiled surfaces using a grout float or comparable equipment.
Repeatedly wipe the surface down with a moist sponge to remove excess grout. Do not stop cleaning until there is no visible grout, except in the spaces between individual tiles.
After grouting, spread sealant over the surface if you’re using a porous tile that has to be protected.


Your comment submitted.